Overview
An extension or software for an e-commerce platform means that there are a lot of settings that you can change. On the one hand, many settings offer a high degree of customizability, but on the other hand, they also quickly overwhelm. The Enwikuna License Manager Setup Wizard will guide you through all the necessary and important steps to get Enwikuna License Manager & Enwikuna License Manager Pro up and running.
Afterwards, you can of course fine-tune the settings of Enwikuna License Manager & Enwikuna License Manager Pro.
Immediately after activating the plugin, you will be redirected to the setup wizard. In the setup wizard, you can activate Enwikuna License Manager Pro, set up data encryption and even more.
At the end, you will get more helpful tips and links to continue with the setup.
Please plan about 5 – 10 minutes for the setup wizard, depending on the amount of manual effort required.
If you run into any problems during the setup process, we’re here to help you configure and set up Enwikuna License Manager & Enwikuna License Manager Pro. In addition, you can purchase our Initial Plugin Setup & Prioritized Support package in our store. In this case, we take over the complete setup of your plugin and support you prioritized and immediately with questions about Enwikuna License Manager & Enwikuna License Manager Pro, e.g. via WhatsApp.
Setup steps
In the following, we give a brief insight into the individual steps of the setup wizard.
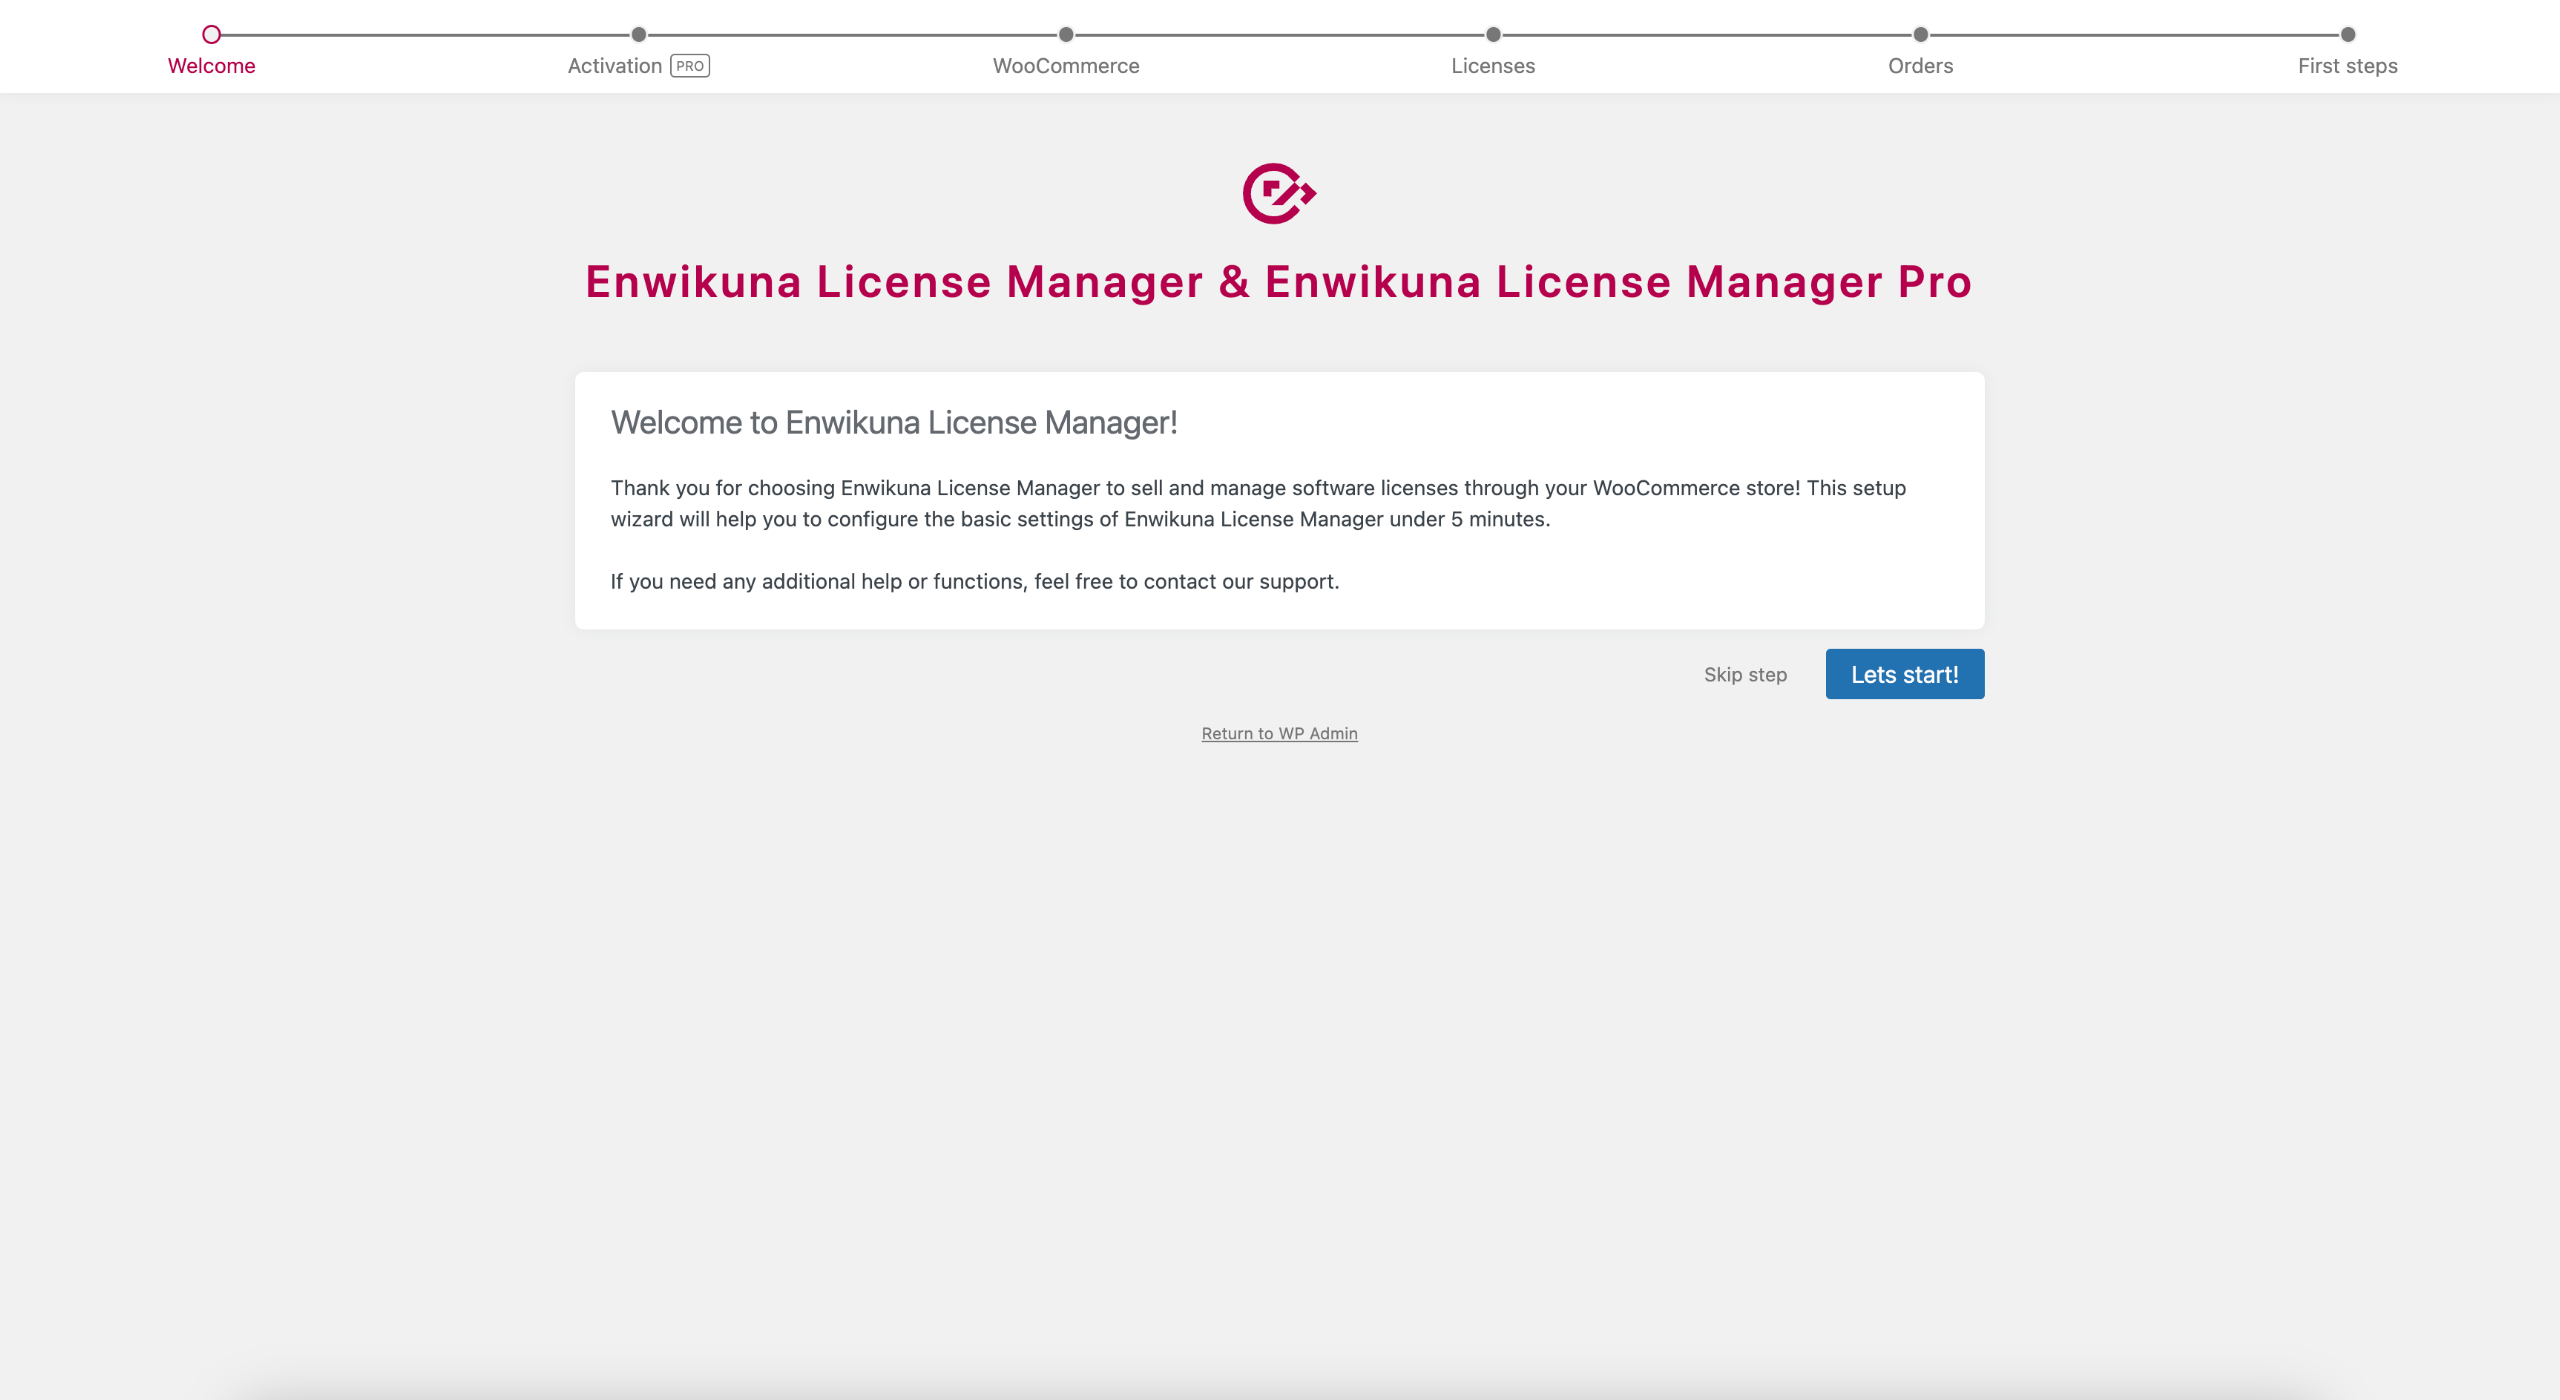
Activation (Pro)
This step is about activating your license so that Enwikuna License Manager Pro can fully function. You can find the license key for your license inside your order confirmation email or your Enwikuna Agency customer account. Now, paste it into the appropriate field and activate your license by clicking the Activate button.
During activation, Enwikuna Helper will automatically be downloaded and installed in the background. Without the Enwikuna Helper, the activation of your license will not work.
In exceptional cases, it may happen that the automatic installation of Enwikuna Helper is blocked by your WordPress site. In this case, please install Enwikuna Helper manually.
Also, during the automatic installation of Enwikuna Helper, the encryptor key, similar to the one of Enwikuna License Manager, will automatically be inserted into your wp-config.php file, which will then be used to encrypt your license key within the database. Enwikuna License Manager or Enwikuna Helper may not have write permission to the wp-config.php file. This is often the case with Raidboxes, for example. This is often the case with Raidboxes, for example.
In this case, you need to configure Enwikuna Helper Encryptor manually. To do this, pause the activation of your Enwikuna License Manager Pro license and open your admin dashboard inside a new tab. You should now get a message that the Enwikuna Helper Encrytor still needs to be configured. Click on the link in the message and follow the instructions. Afterwards, return to the Enwikuna License Manager Setup Wizard and proceed to activate your license.
Alternatively, you can activate your license on the Enwikuna Helper dashboard. For more details, see the Enwikuna Helper documentation about the dashboard.
If you have any problems with the activation of your license, please contact our support.
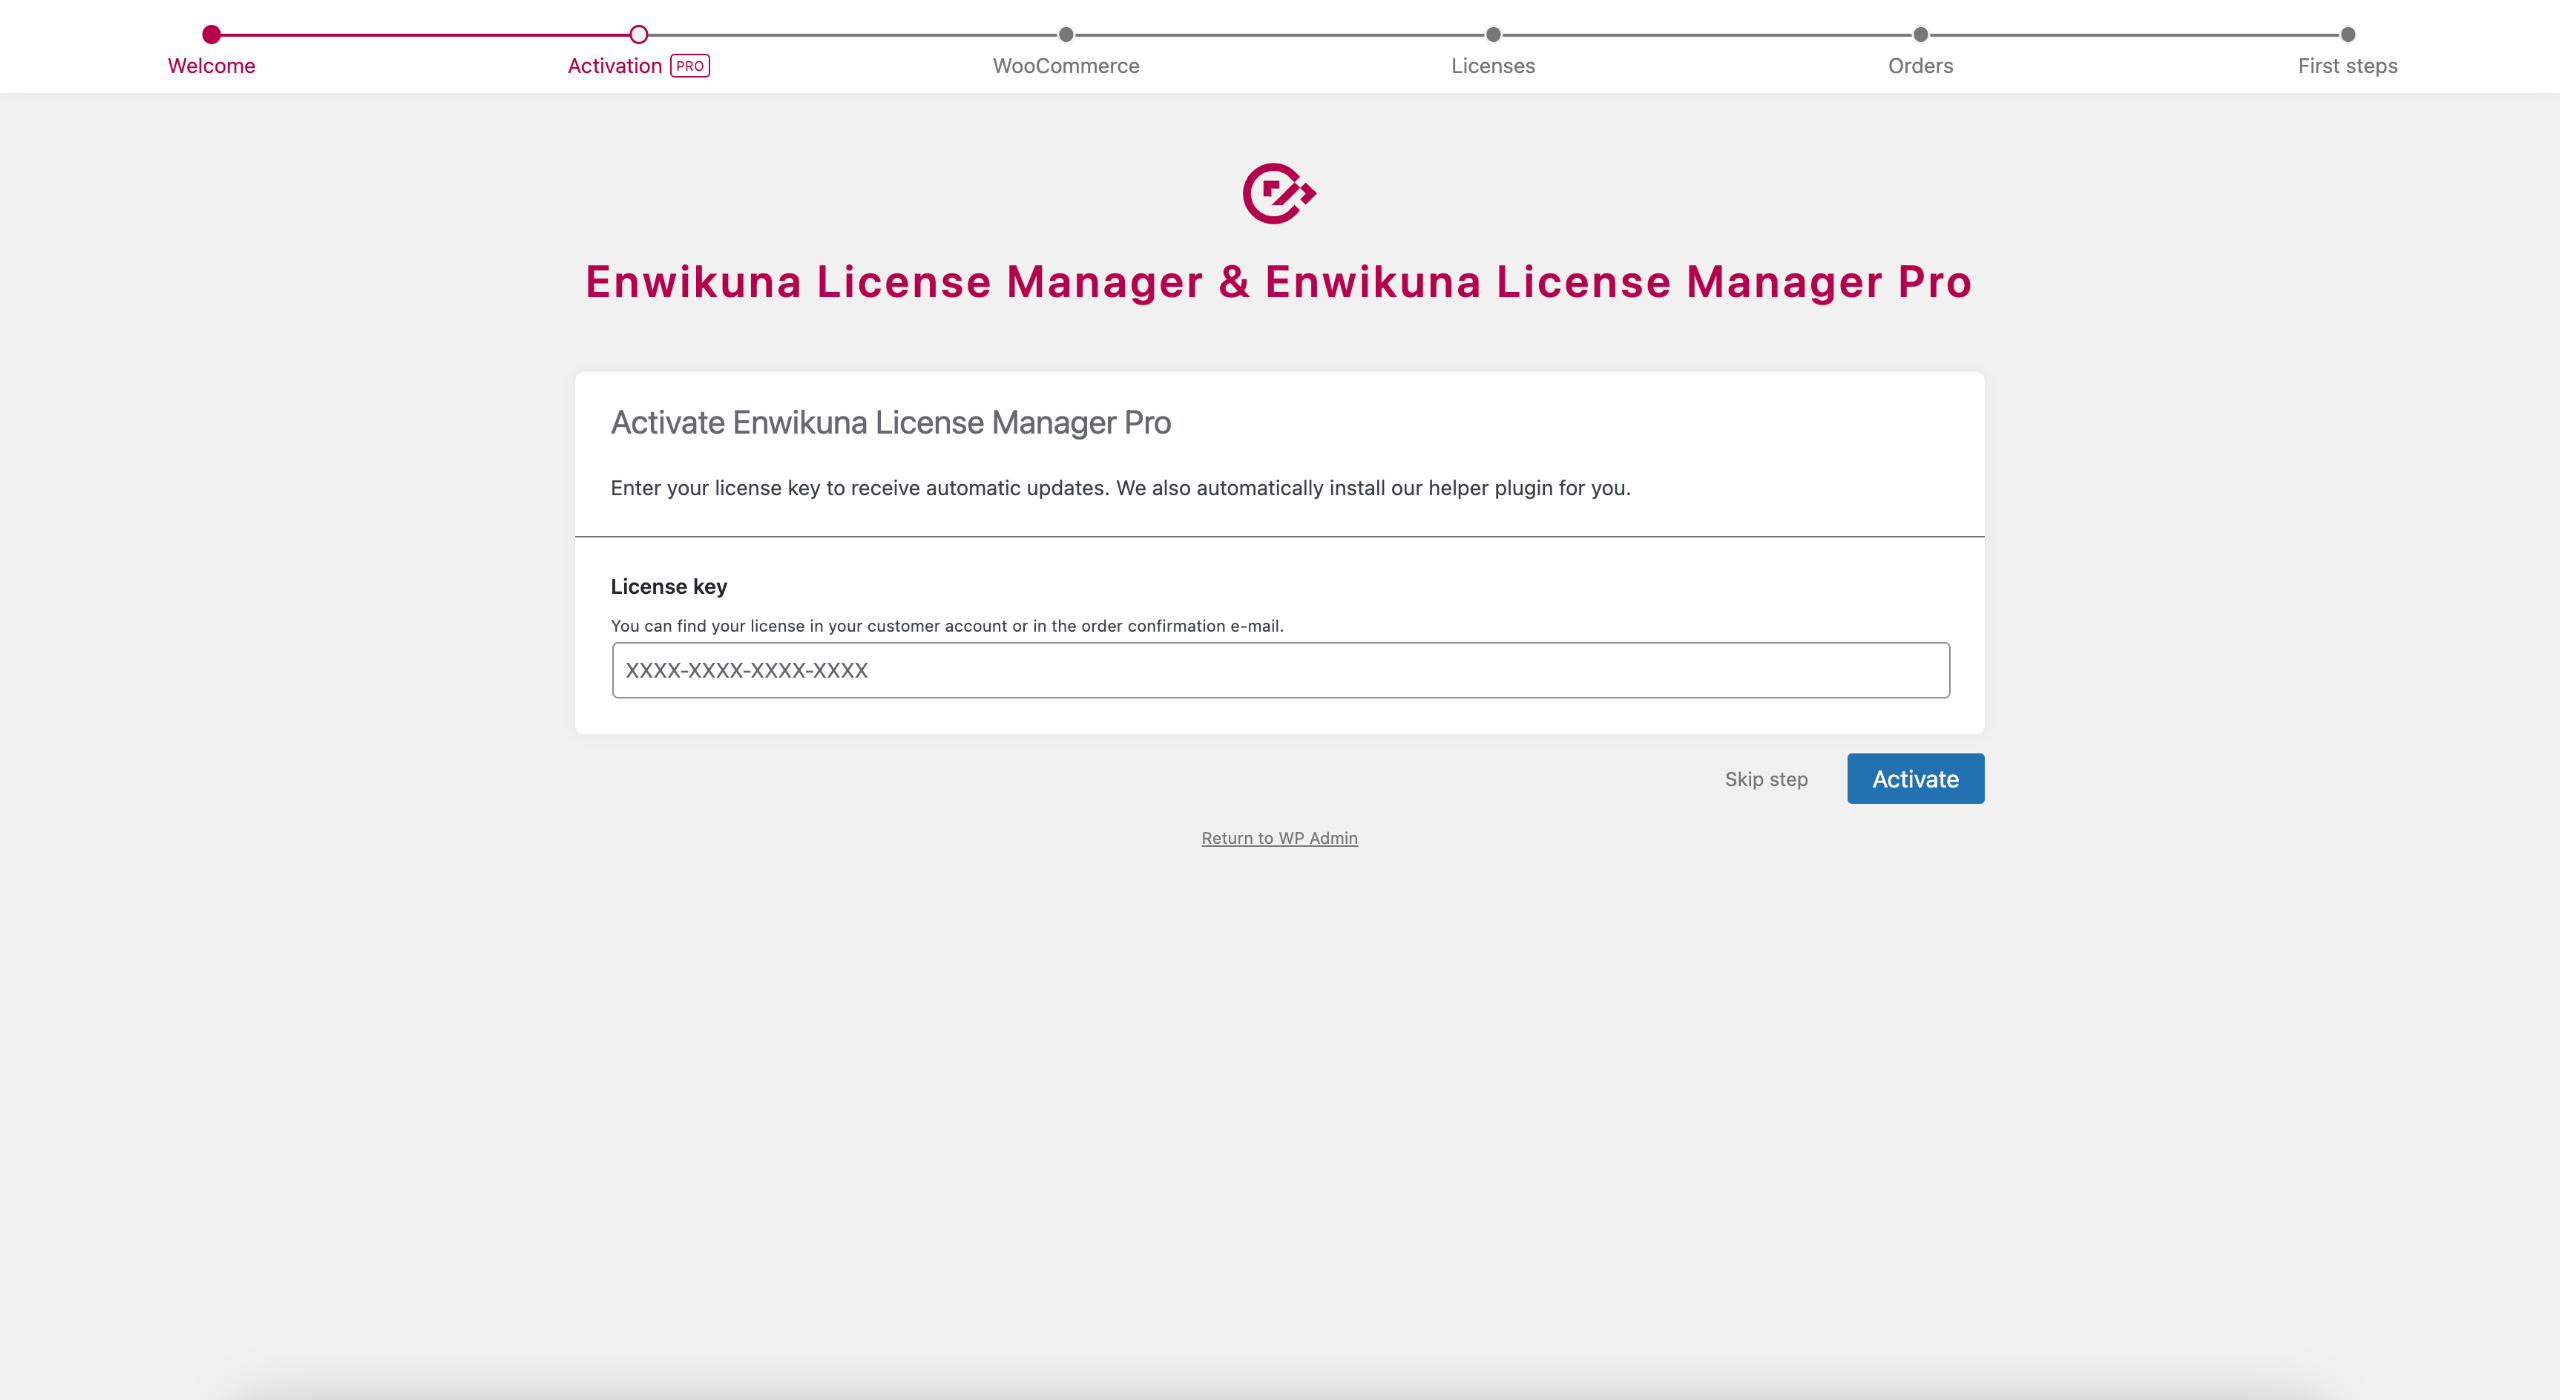
WooCommerce
After the successful configuration of the Encryptor, we can now proceed with the WooCommerce settings. The displayed options here show the current configuration state of WooCommerce. First, please deactivate the guest checkout and afterwards activate the account creation. Enwikuna License Manager requires a customer account due to its architecture. Therefore, it is not possible to allow sales to guests without account creation.
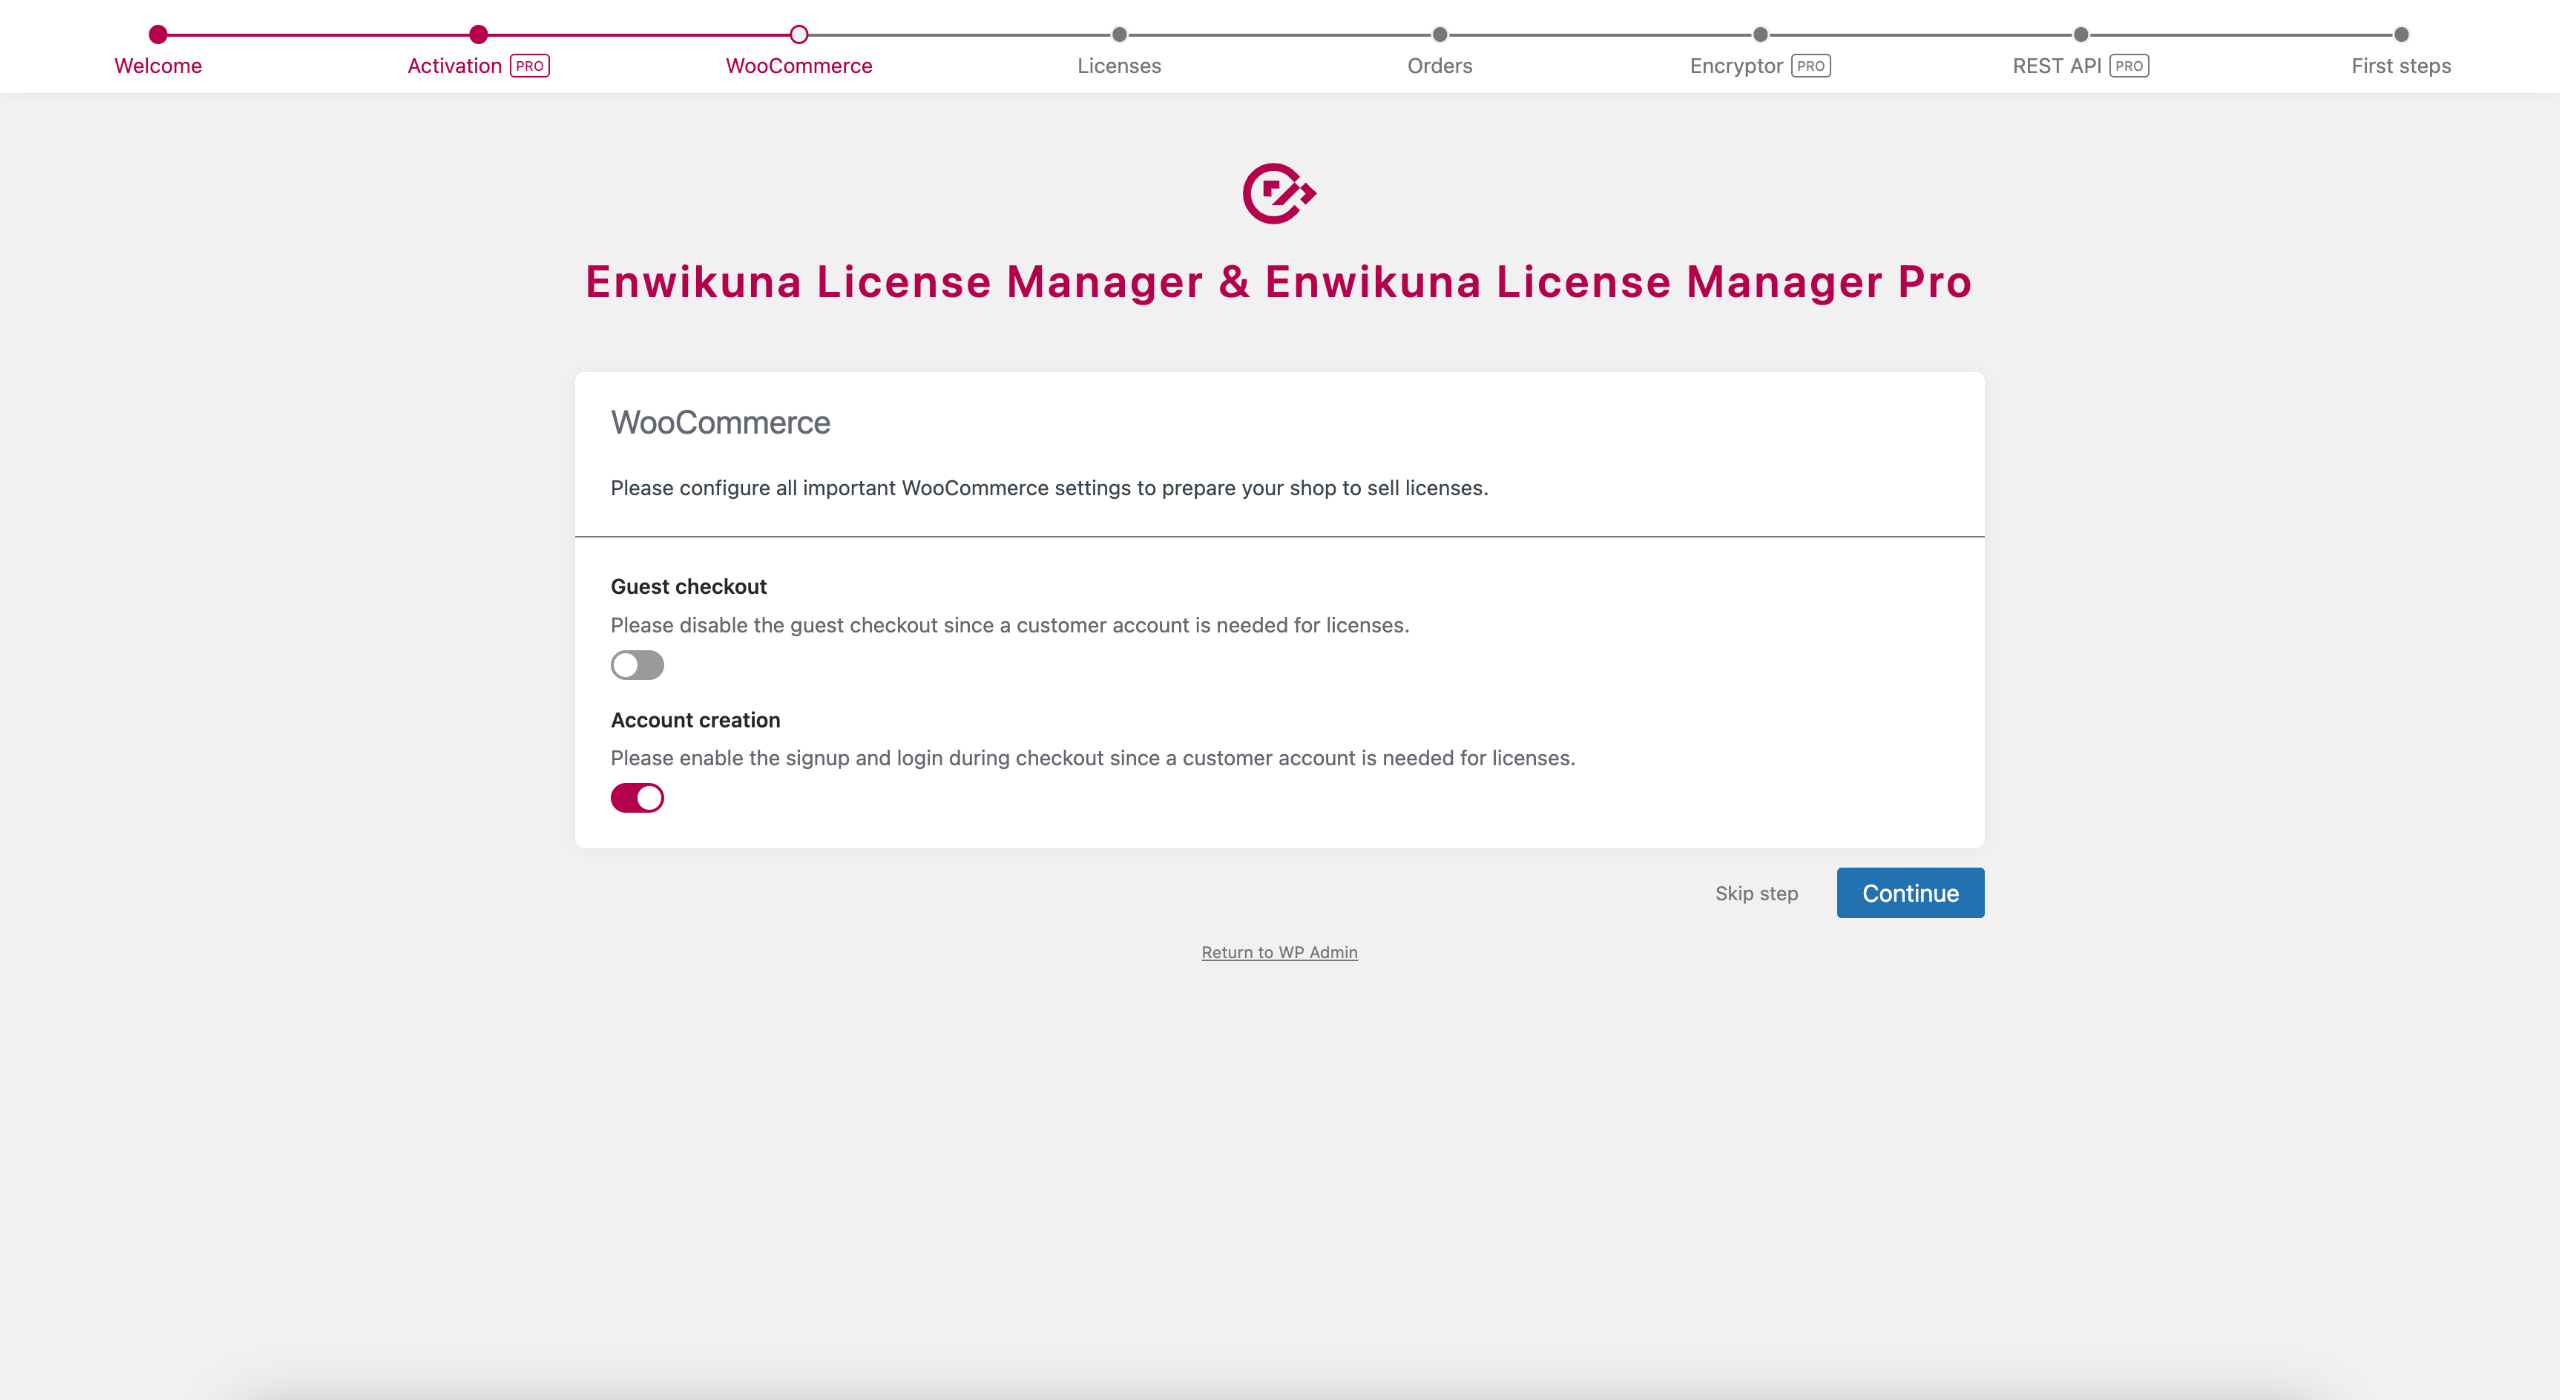
Licenses
Now let’s move on to the settings for the licenses. A very important question you need to ask yourself is whether or not you want to allow license key duplicates. Basically, we do not recommend this, as this option severely restricts the REST API and violates data integrity. Please note that it is unwise to change this option while you are already in operation.
Also very important is the encryption of license keys, which is also possible in the Pro version. Please note that a later activation of this option will not encrypt your already existing license keys. These will remain unencrypted inside the database.
Another important point, which is only available in the Pro version, is the use of hosts. You can now decide if you want to bind your licenses to specific hosts like URLs or MAC addresses. They will be set when the customer buys the license. A subsequent activation is then only possible from these hosts, as long as you implement this functionality accordingly in your software.
Orders
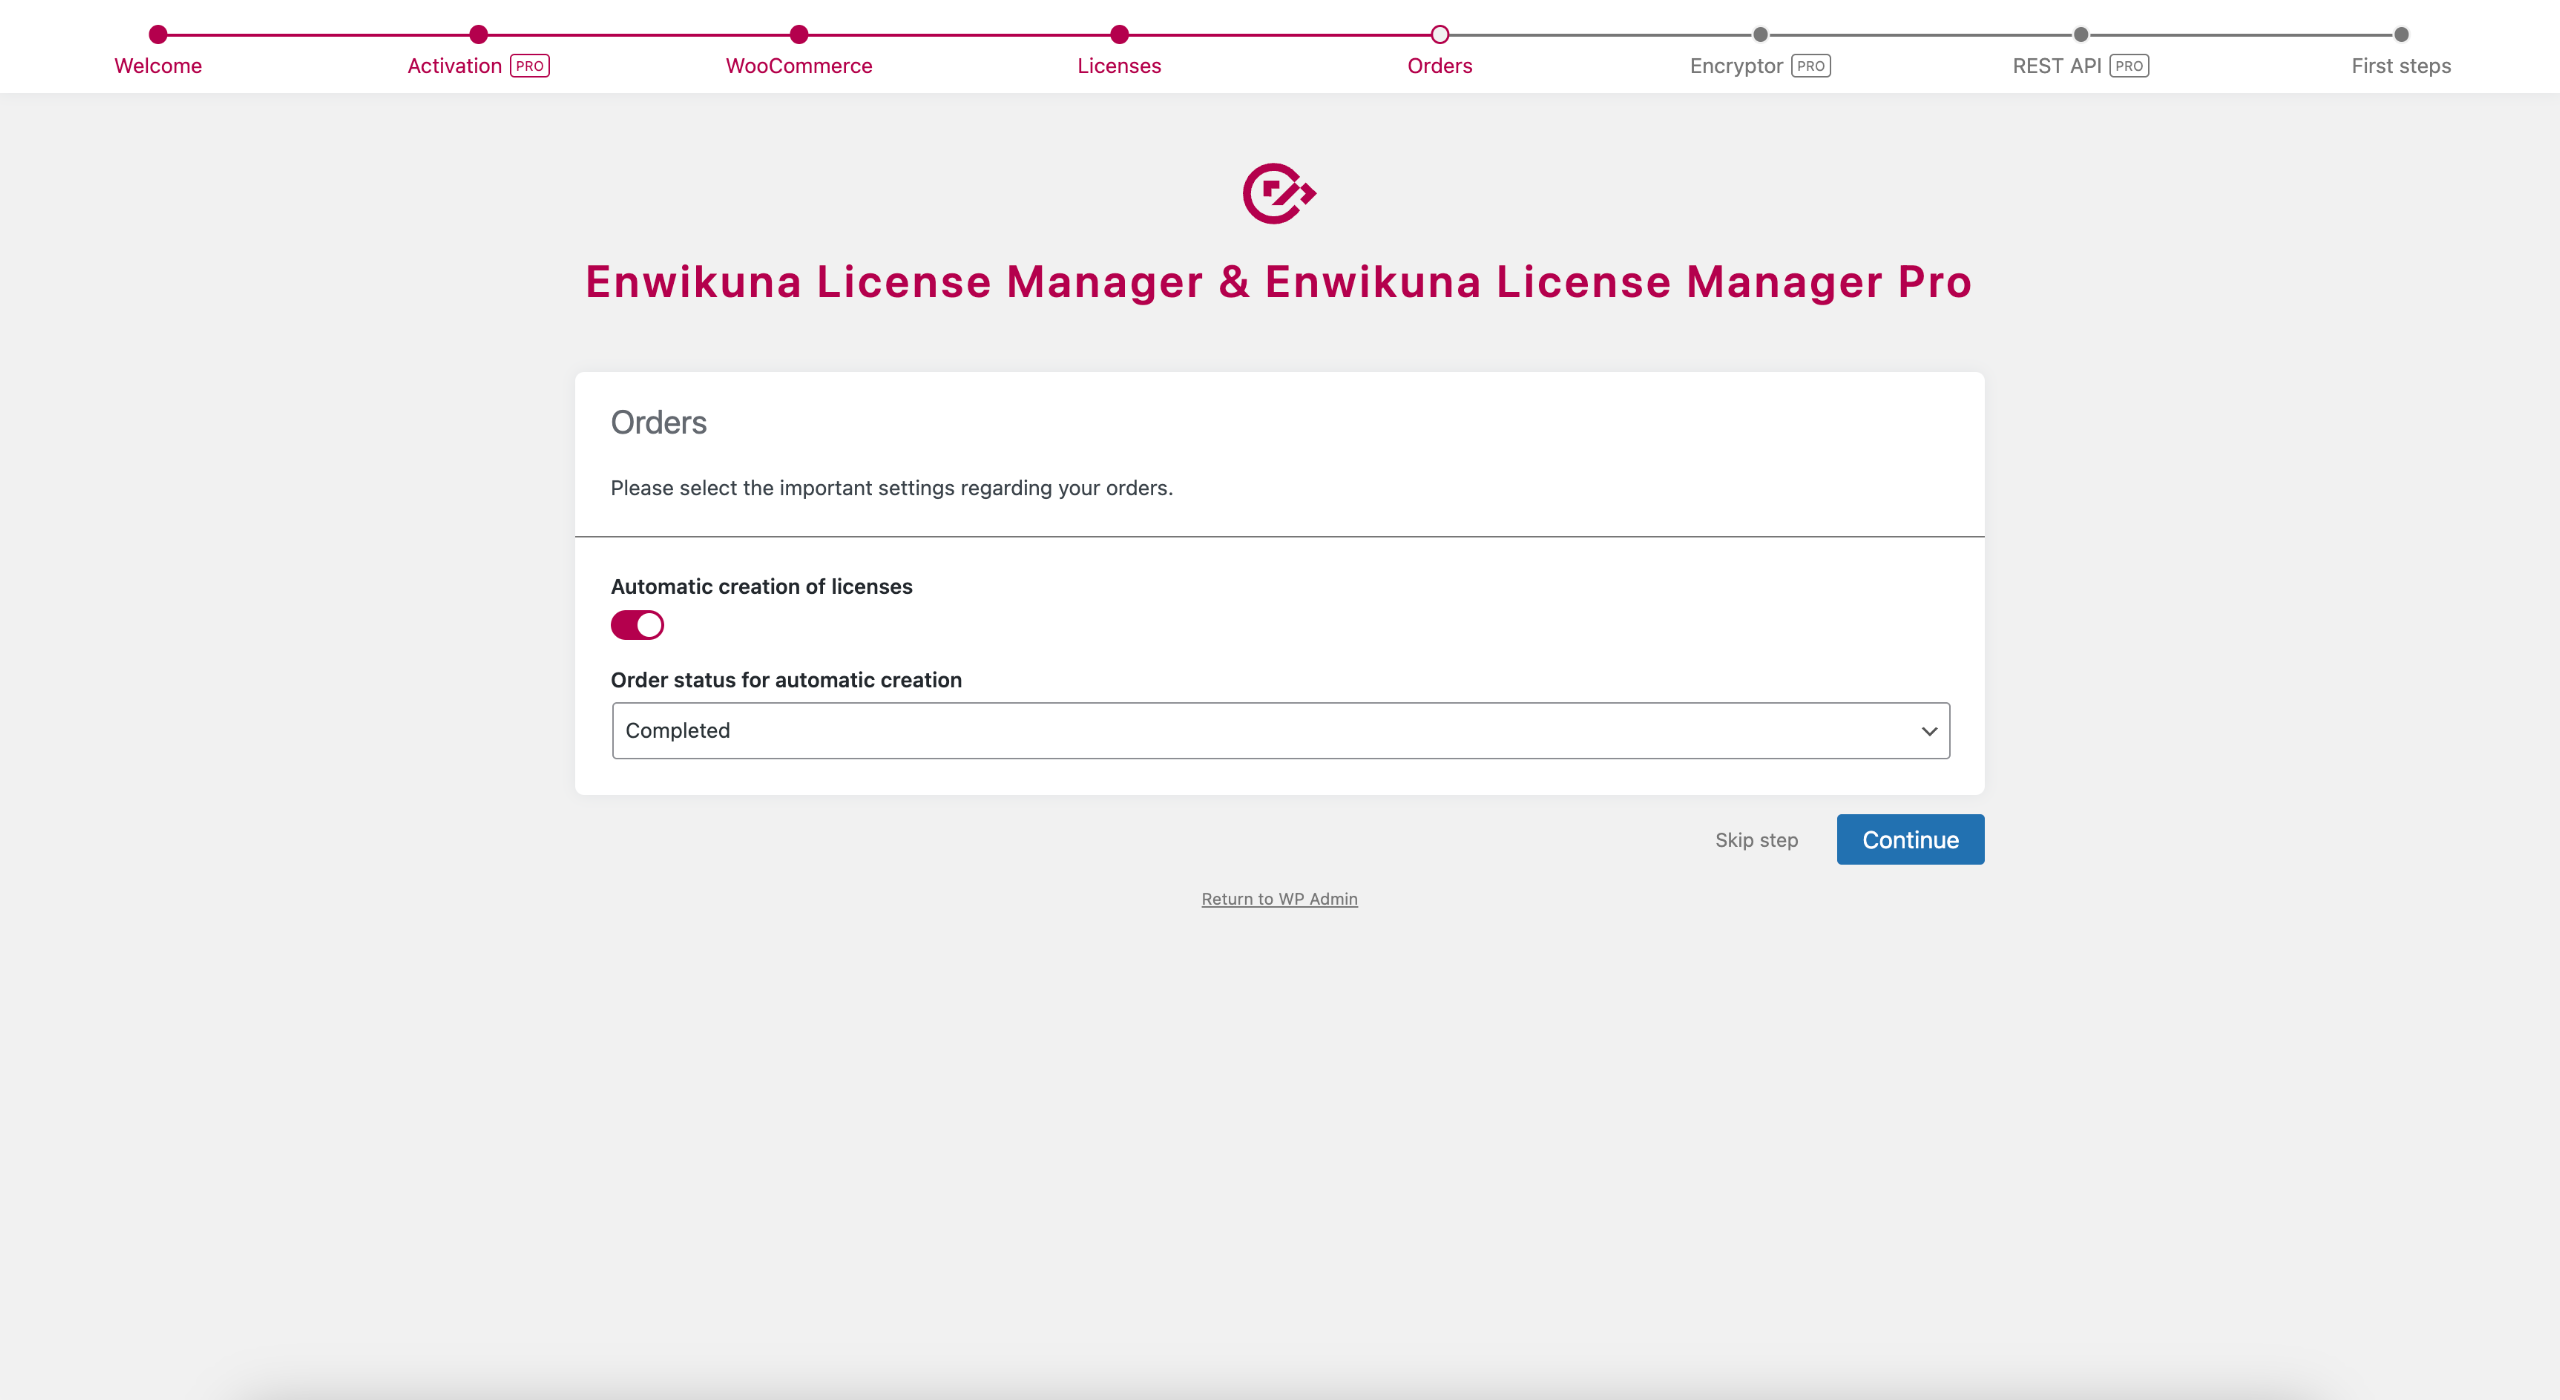
Another important setting is the automatic license creation during the order process. Decide now if you want to create licenses automatically when an order reaches a certain status.
Encryptor (Pro)
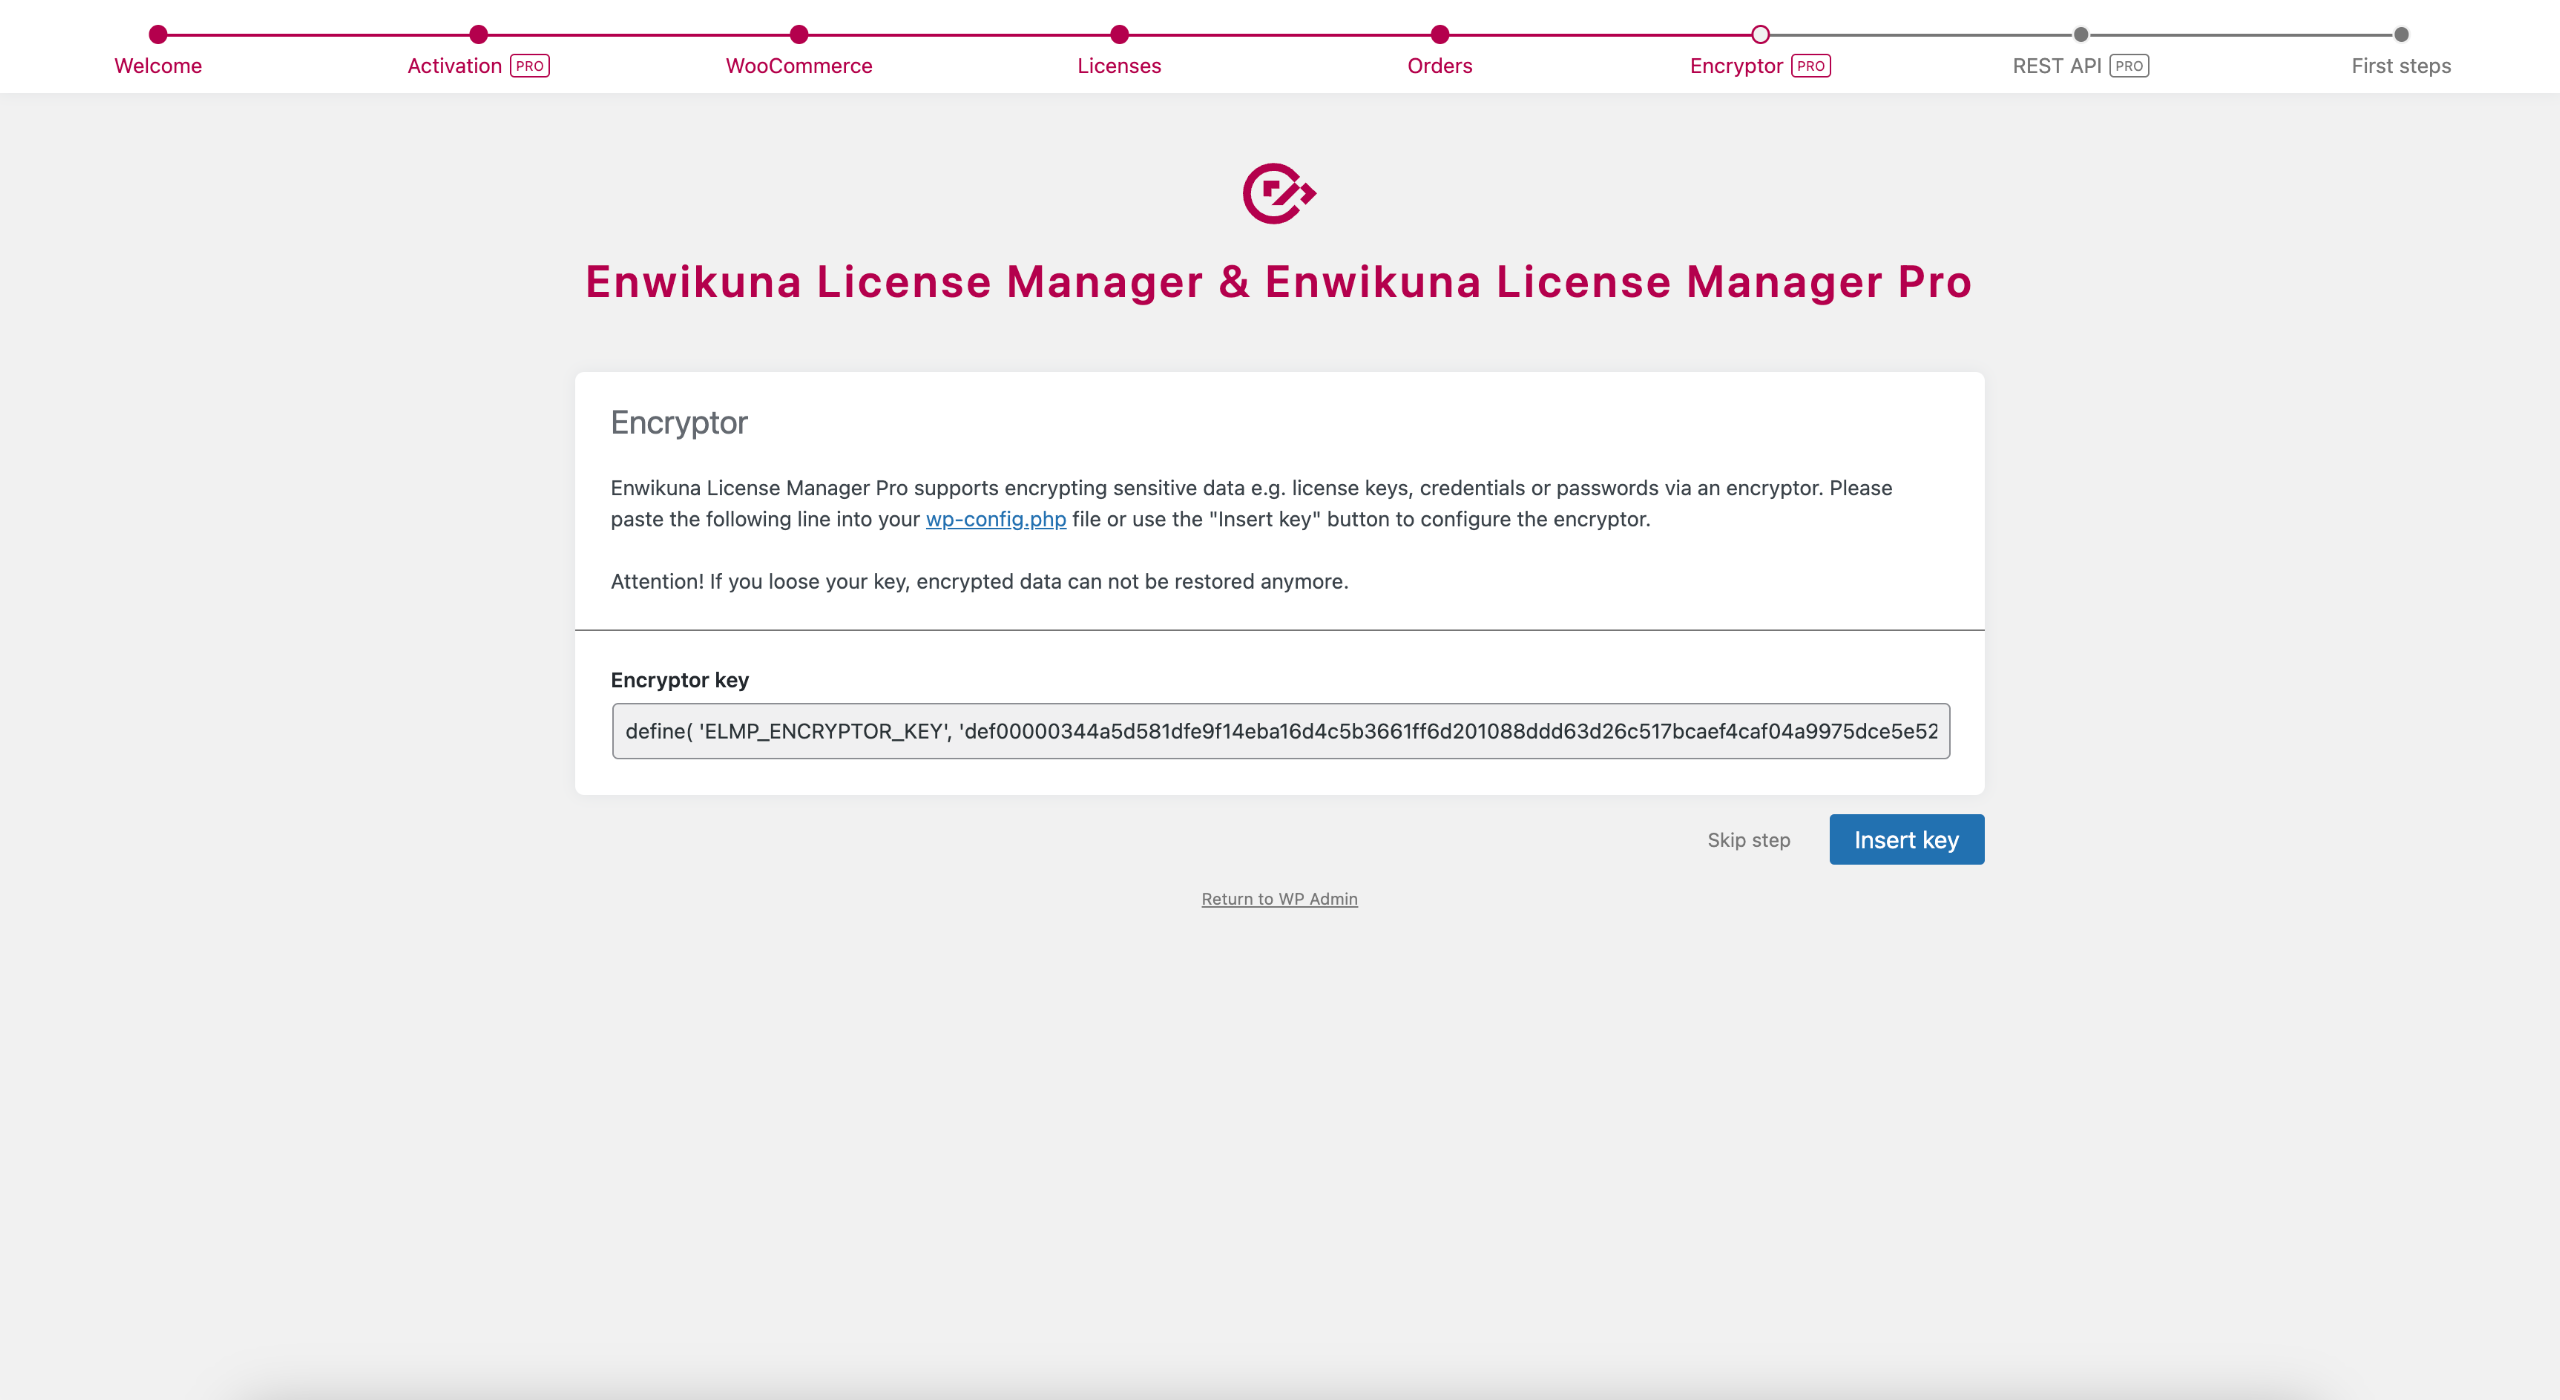
If you decided within the license settings that you want to encrypt your license keys, you now have to configure the Encryptor. This is responsible for encrypting your license keys. By default, you can insert the key by pressing the Insert key button in your wp-config.php.
In some cases, your site may block the automatic insertion of the encryptor key. This is often the case with Raidboxes, for example. In this case, you have to configure the Enwikuna License Manager Encryptor manually. For this, follow the instructions provided by the setup wizard.
REST API (Pro)
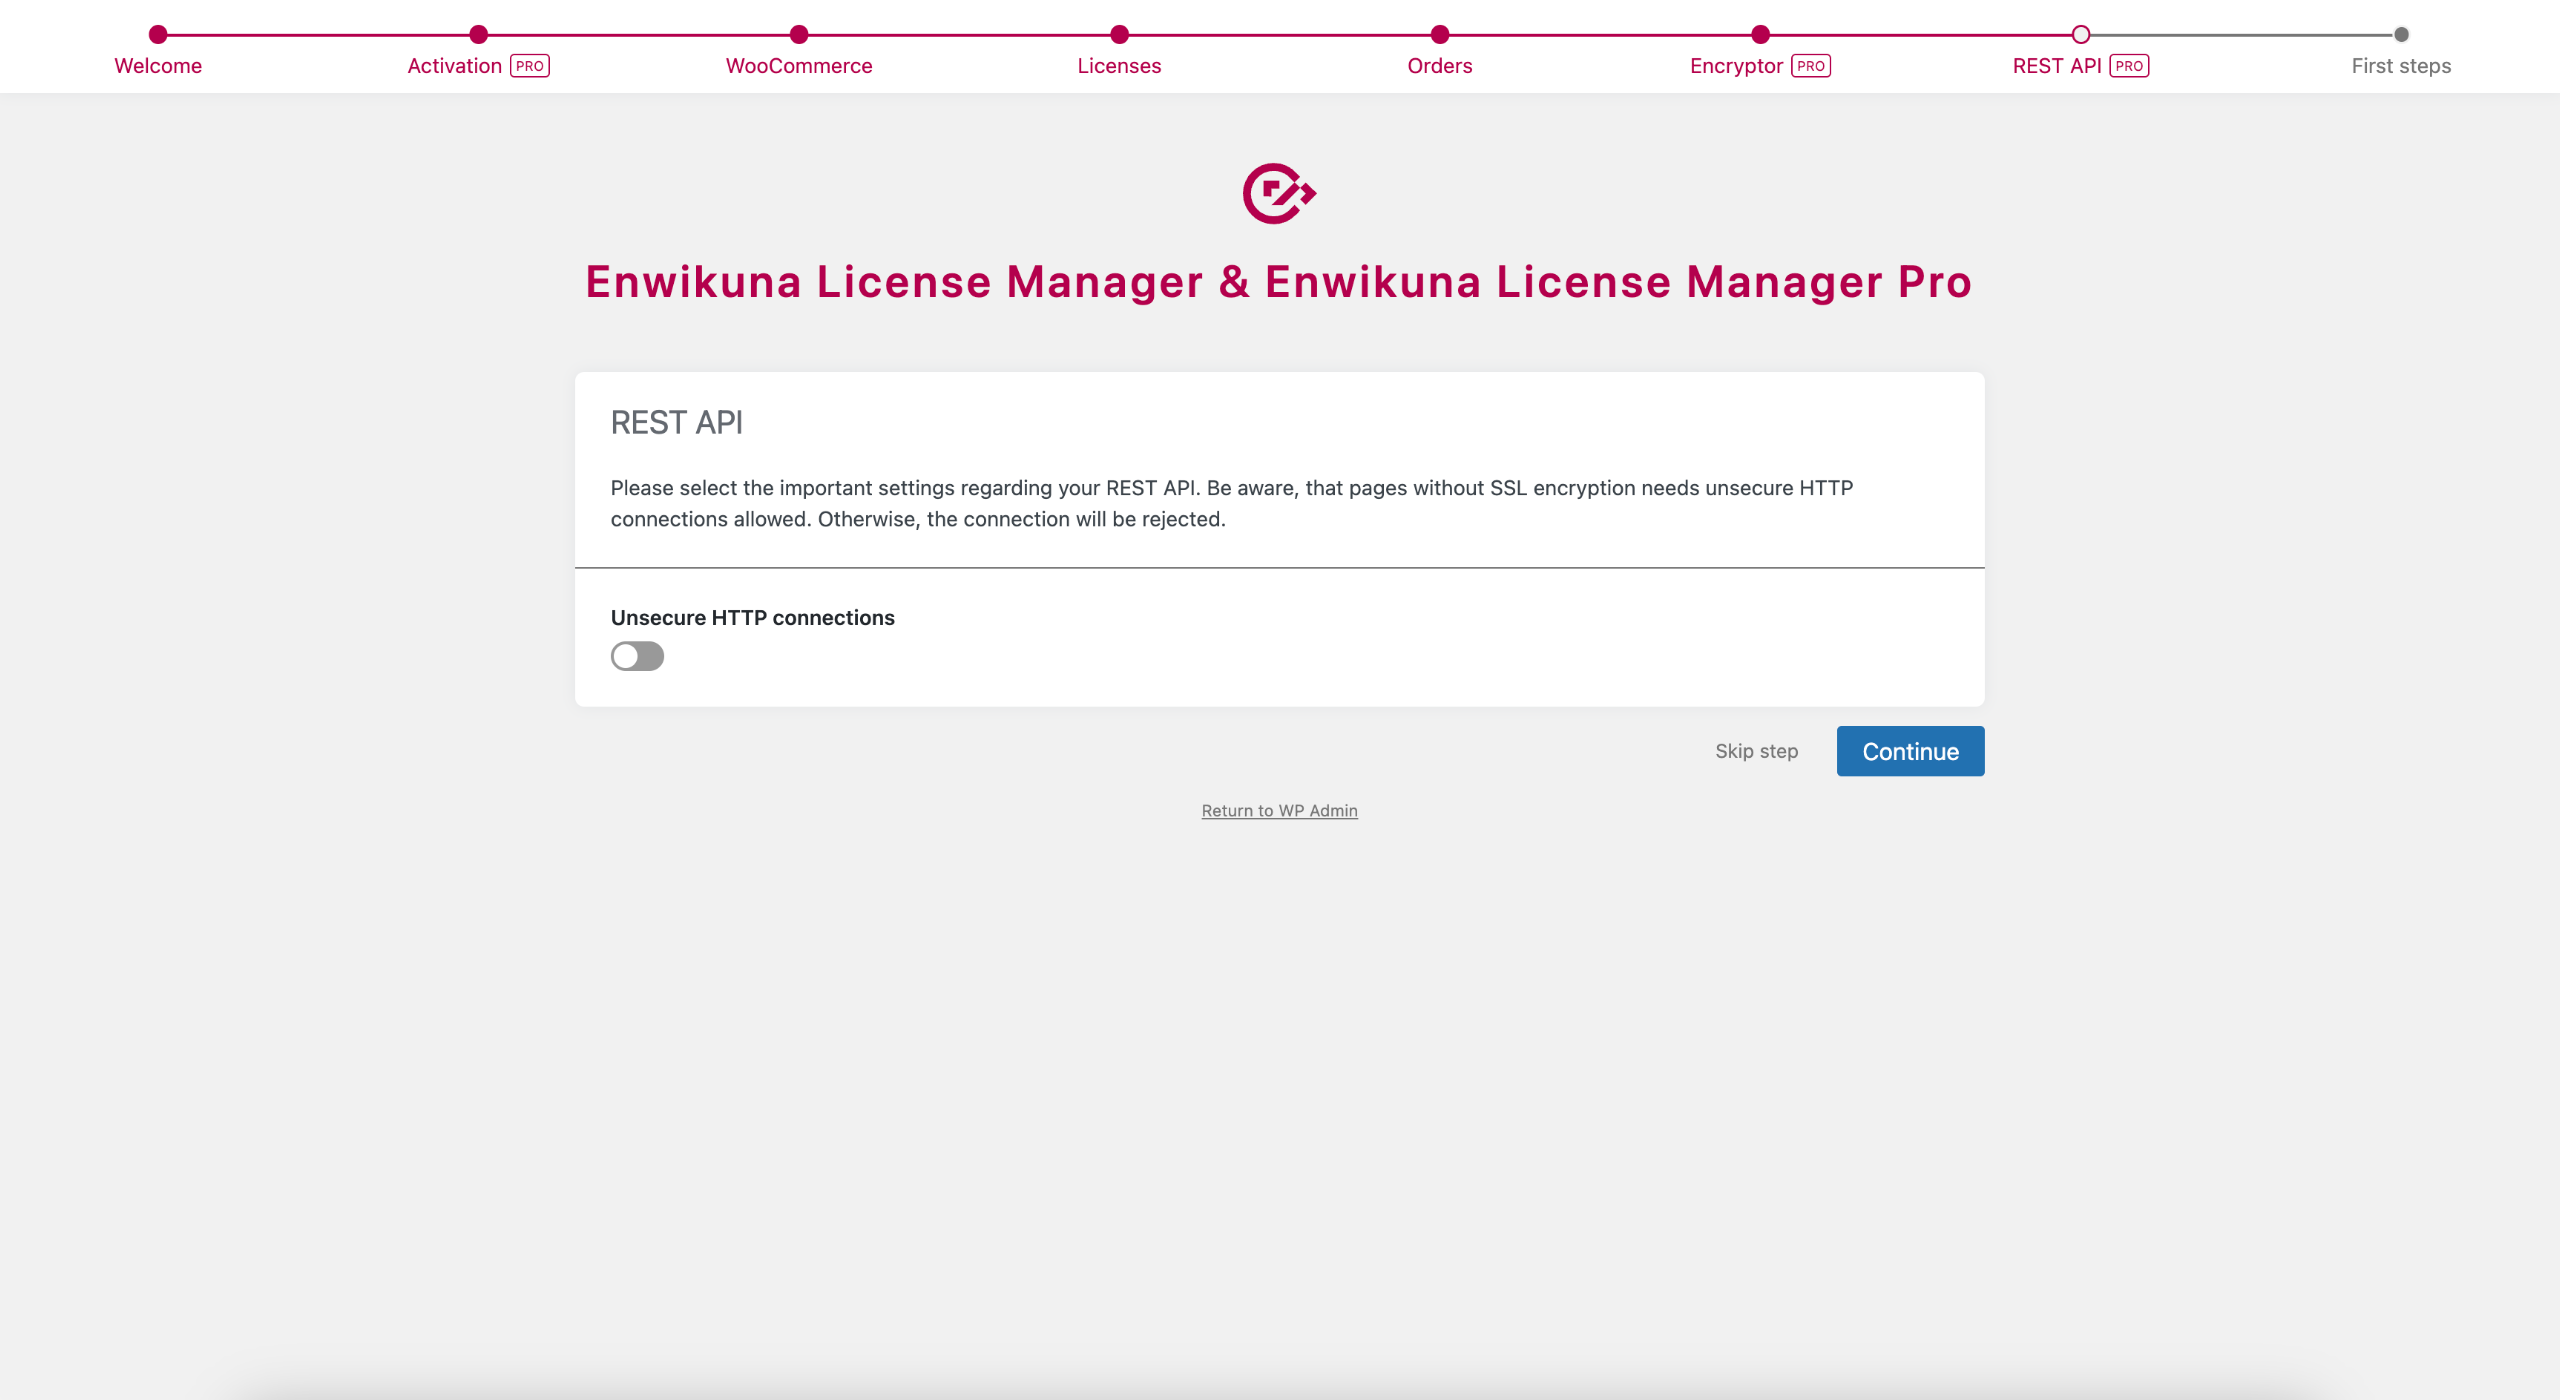
Almost there! Last but not least, let’s move on to the REST API settings. Decide whether you want to allow unsecure HTTP connections to your license system or not.
First steps
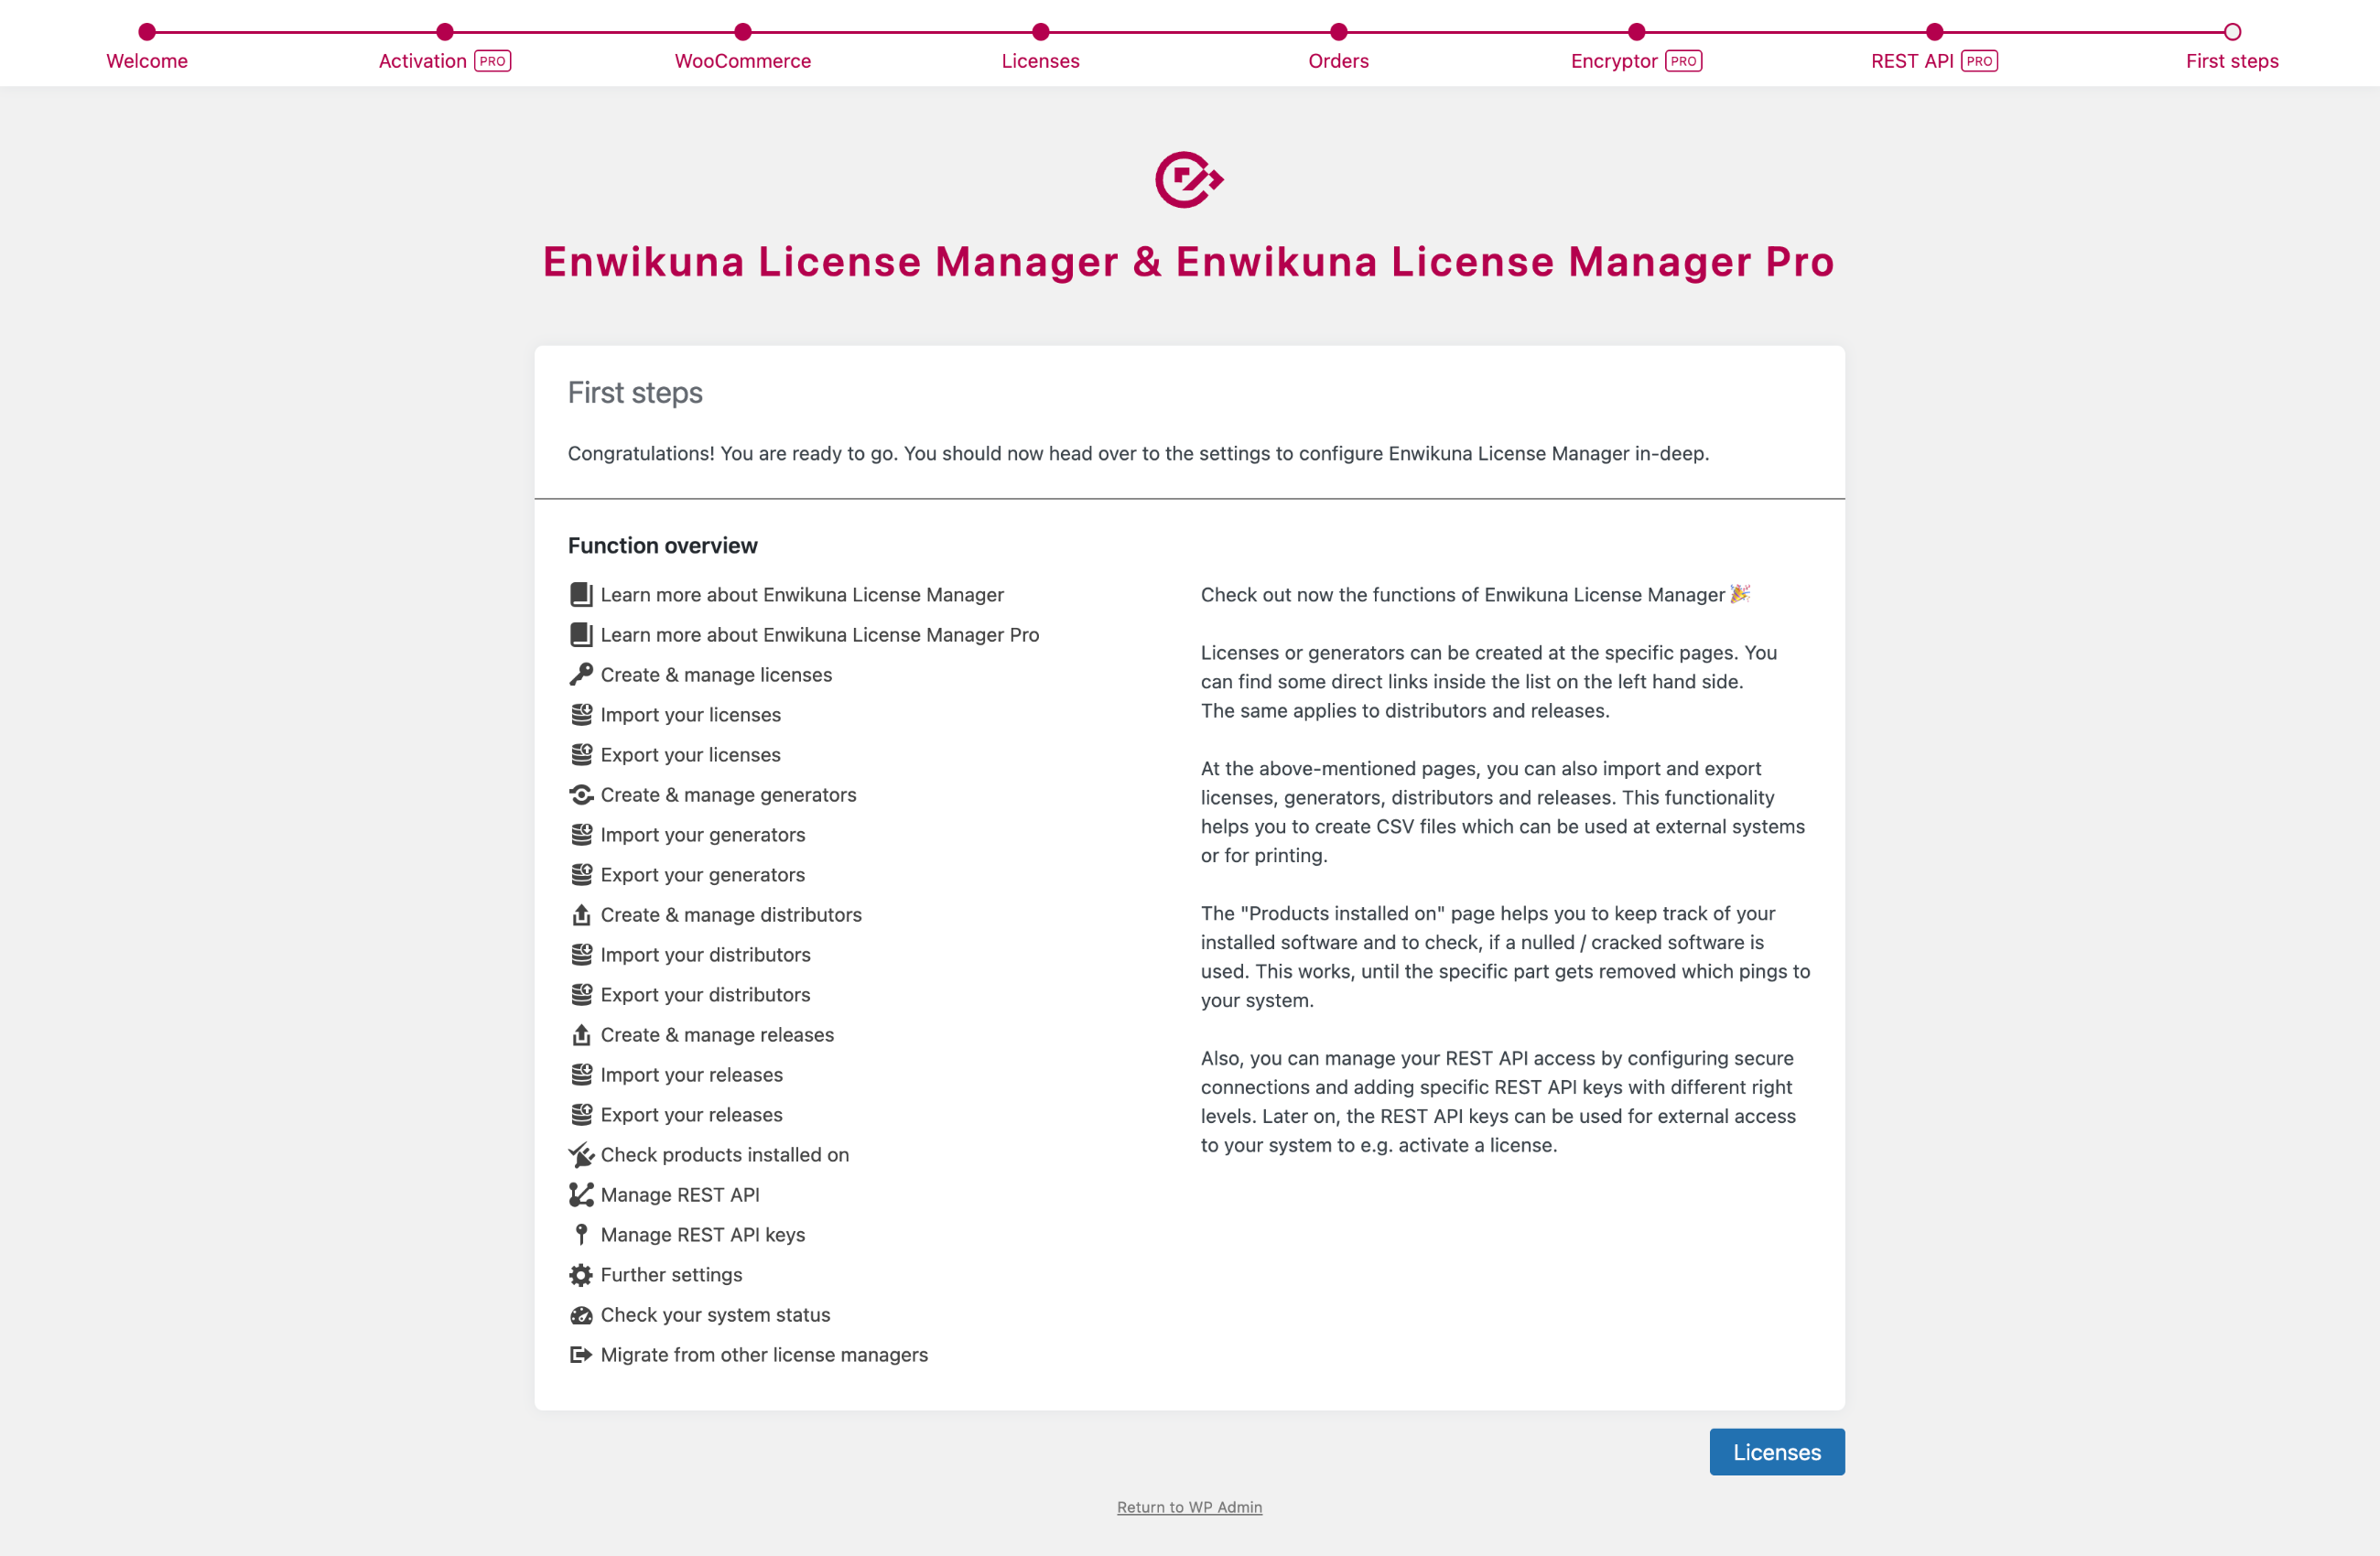
Congratulations! You have finished setting up Enwikuna License Manager for startup via the setup wizard. Feel free to take a look around the world of Enwikuna License Manager using the links from the feature overview.
We wish you great success!