Overview
To help you manage your generators, we have provided you a table that will help you with this. You can find this table under Enwikuna License Manager > Generators. Within the table there are several functions available, which we would like to explain in the next sections.
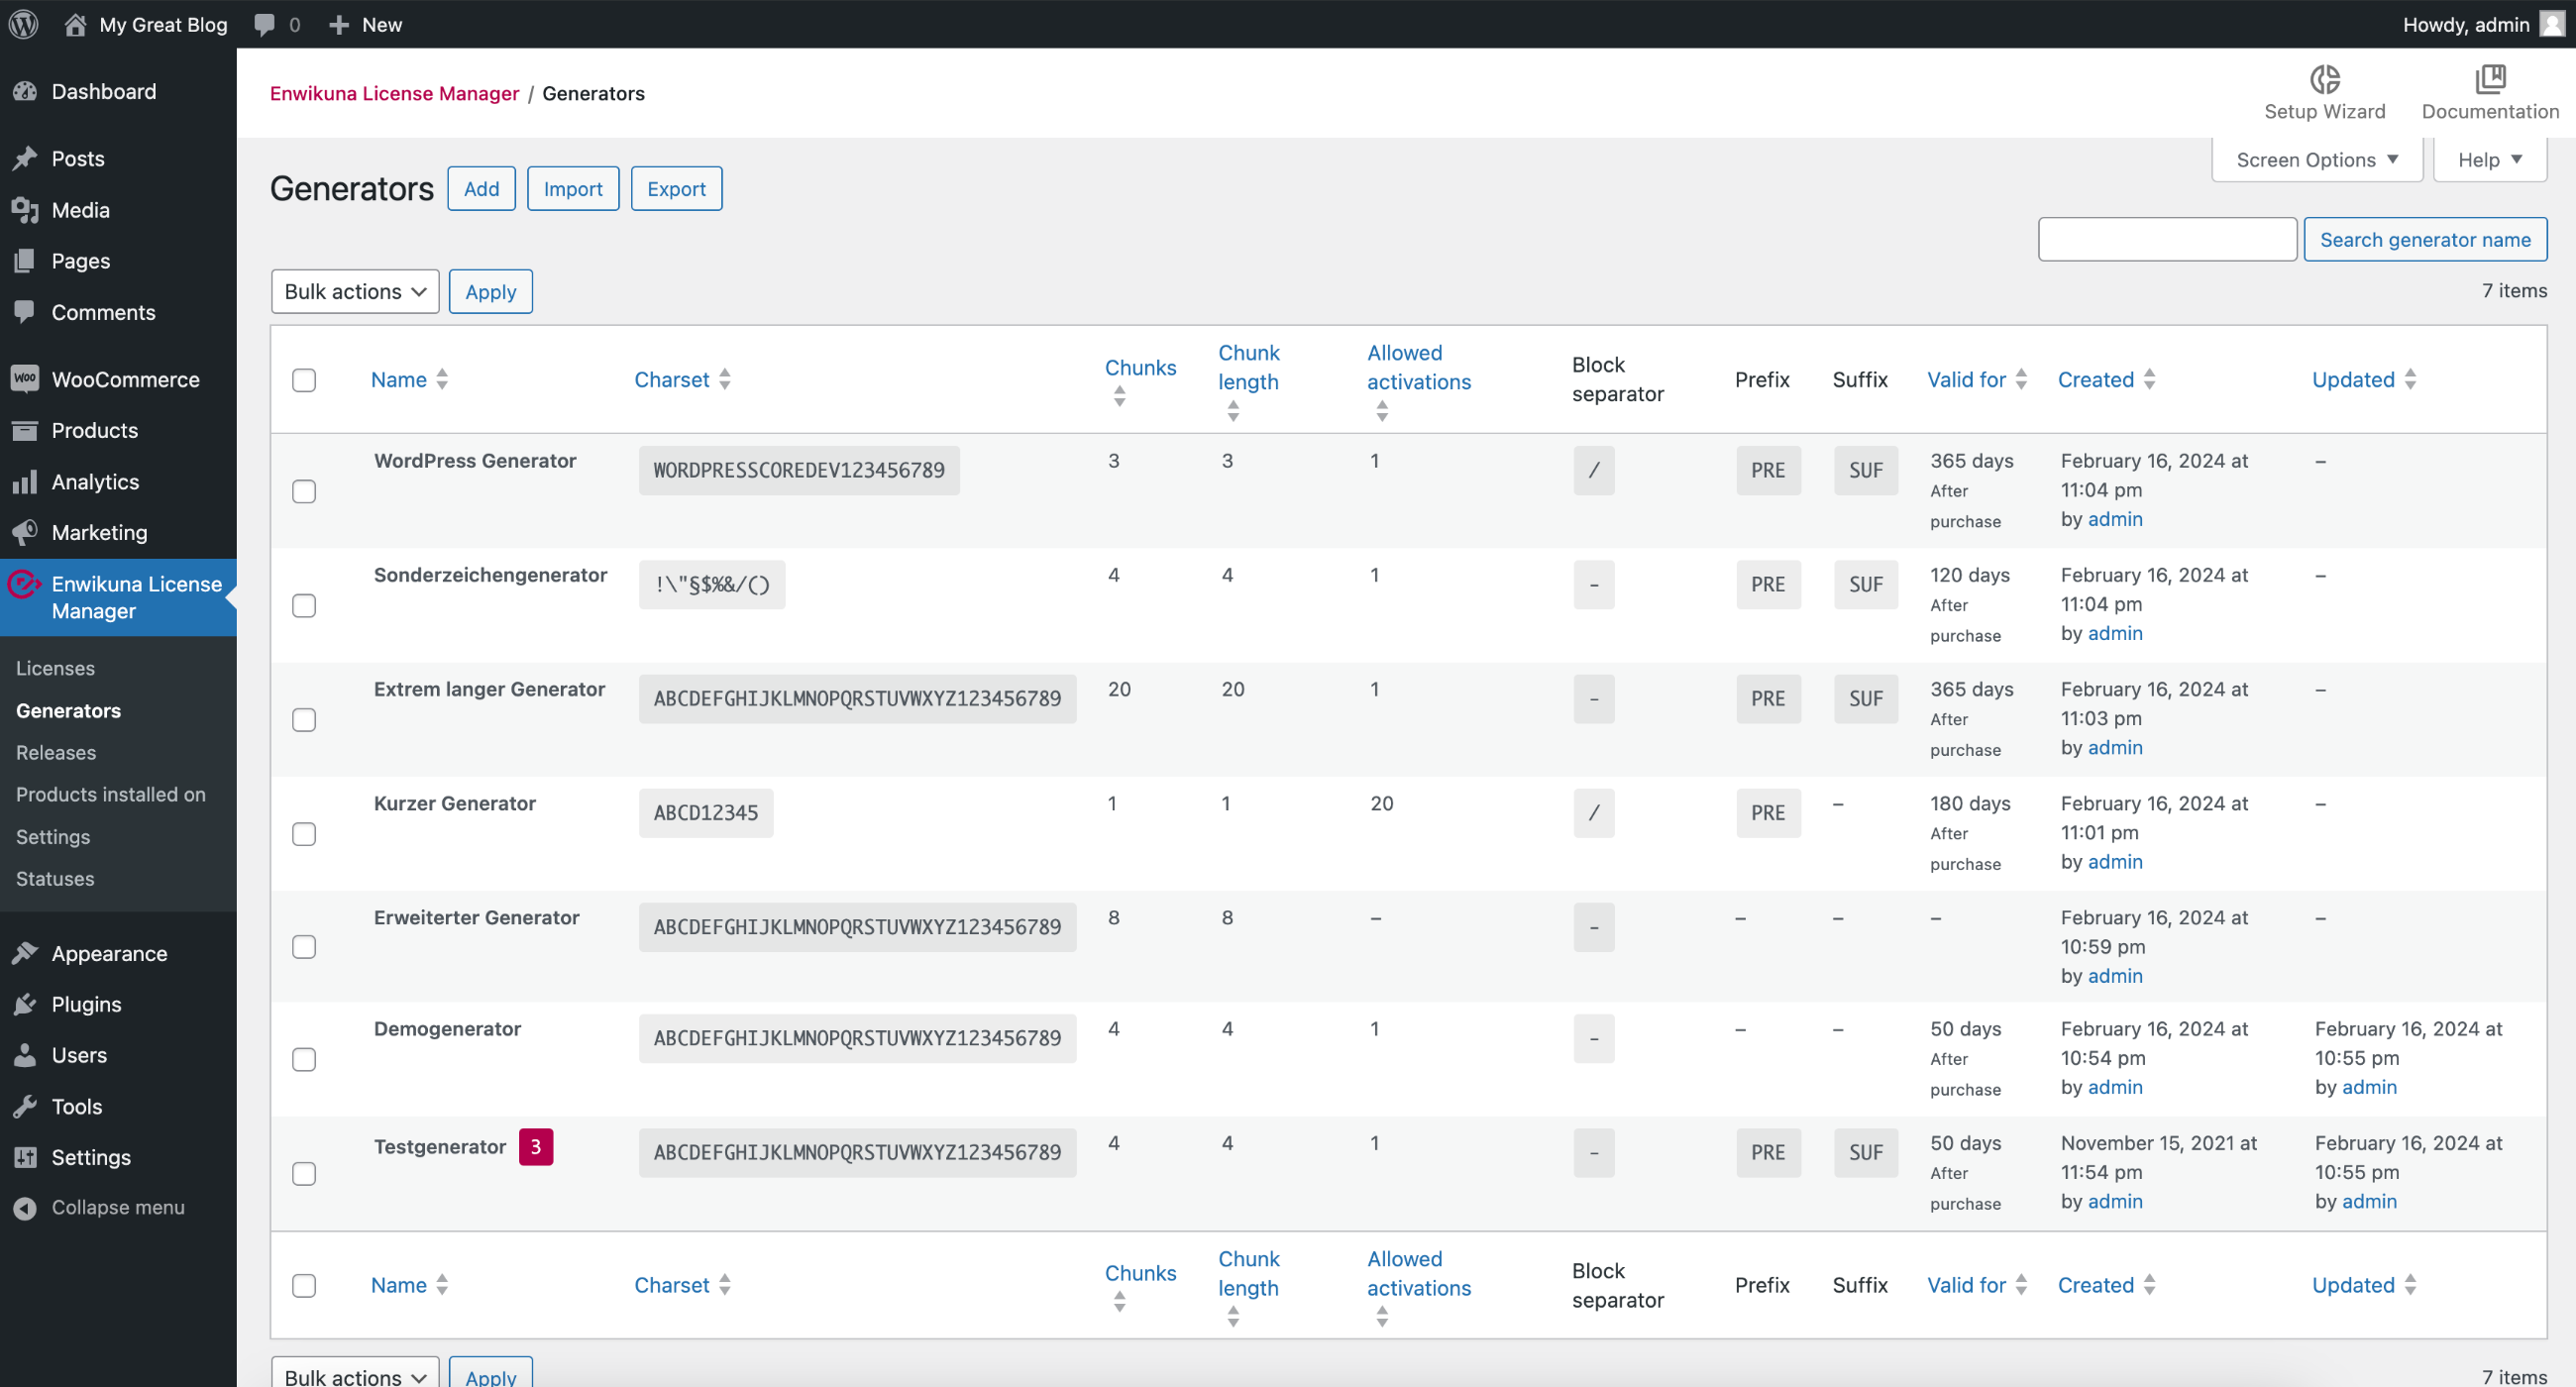
The generators table has several columns, each of which contains the details of the generators. The following columns are available:
| Column | Description |
|---|---|
| Name | This column contains the name of a generator and the number of uses within products. |
| Charset | This column contains the allowed charset that a generated license key may consist of. The more characters, the more variations are possible. |
| Chunks | This column contains the number of chunks of a license key. |
| Chunk length | This column contains the length of a chunk of a license key. |
| Allowed activations | This column contains the number of allowed activations of a license. |
| Block separator | This column contains the block separator that separates the chunks of a license key. |
| Prefix | This column contains the prefix that gets appended to the front of a license key during generation. |
| Suffix | This column contains the suffix that gets appended at the end of a license key during generation. |
| Valid for | This column contains the number of days a license is allowed to be valid. |
| Created | This column shows when and by whom a generator was created. |
| Updated | This column shows when and by whom a generator was last updated. |
Search & Sort
In order to make the administration of the generators as simple as possible for you, we have built in various functions:
Search
If you want to find an explicit generator inside the table, you can also use the search. Just enter the name and start the search by pressing the button. You will now see exactly the generator you were looking for (if it exists).

Sort
To find generators better, you can sort them within the table. To do so, click on the blue highlighted headings of the columns. You can sort either ascending or descending.

Generator actions
Each generator within the table has actions that allow you to modify the generator. To do this, move the mouse over a generator entry inside the table. You will notice that an additional section becomes visible under the name. Here you will find various information and entries:

ID
Probably the most important information is the ID that the generator has. Under this ID, the generator is stored within the database. An ID is always unique and can never exist twice.
View / Edit
The first and most important action is to view or edit a generator. Click on the action to go to the view or edit page of a generator. You can read how to edit an existing generator below.
Delete
You can delete the generator using the Delete action.
Add a new generator
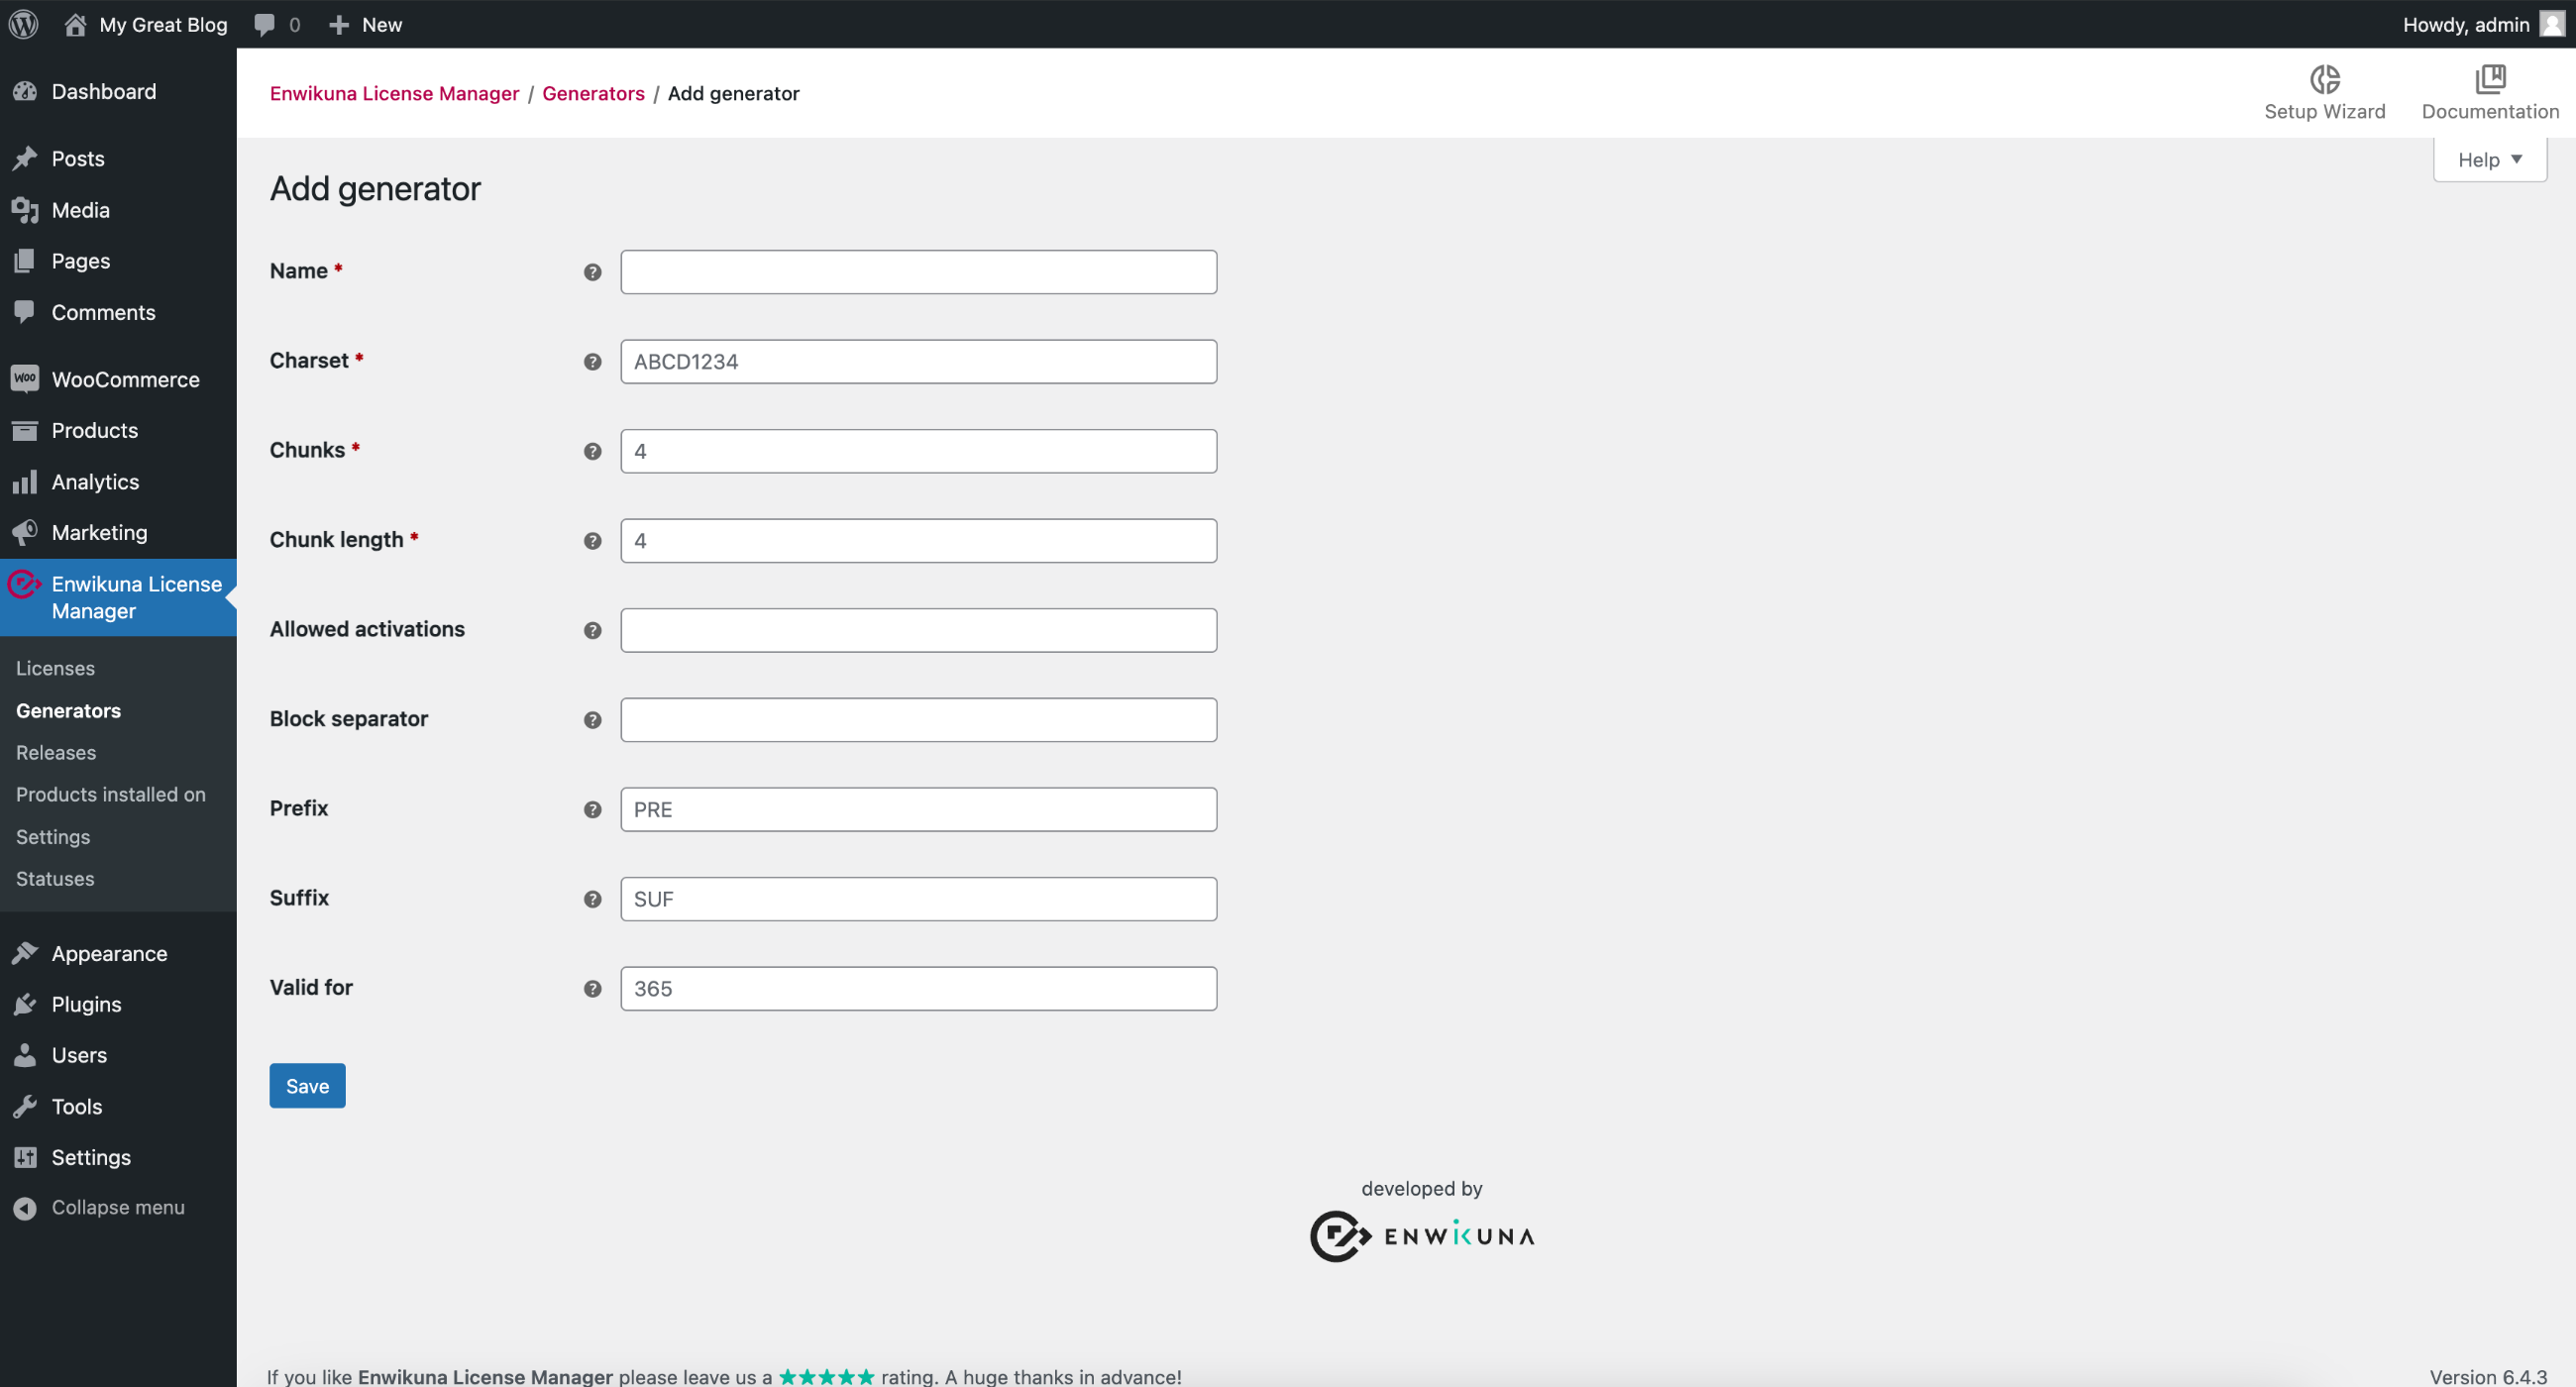
If you want to add a new generator, you can do it easily. To do this, click the Add button under Enwikuna License Manager > Generators.

A page will then open where you can define some settings:
Name
Define here the name for the generator.
Charset
Define here all characters that should be used for the generation of a license key.
Chunks
Define here how many chunks a generated license key should consist of.
Chunk length
Define how many chunks a chunk of a generated license key should have.
Allowed activations
Define here how often a generated license is allowed to be activated. If you leave it blank, the license can be activated an unlimited number of times.
Block separator
Define how the individual chunks of a generated license key should be separated from each other.
Prefix
Define here the prefix which should be appended at the front of a license key during generation.
Suffix
Define here the suffix which should be appended at the end of a license key during generation.
Valid for
Define here the number of days a generated license is allowed to be valid.
Finally, save the generator by clicking the corresponding button.
View / edit an existing generator
If you want to view or edit an existing generator, you can do so easily. To do this, move the mouse over a generator entry in the table and then click View / Edit.

A page will then open where you can view and edit the settings of a generator:
ID
The ID under which the generator was stored within the database.
Name
Define here the name for the generator.
Charset
Define here all characters that should be used for the generation of a license key.
Chunks
Define here how many chunks a generated license key should consist of.
Chunk length
Define how many chunks a chunk of a generated license key should have.
Allowed activations
Define here how often a generated license is allowed to be activated. If you leave it blank, the license can be activated an unlimited number of times.
Block separator
Define how the individual chunks of a generated license key should be separated from each other.
Prefix
Define here the prefix which should be appended at the front of a license key during generation.
Suffix
Define here the suffix which should be appended at the end of a license key during generation.
Valid for
Define here the number of days a generated license is allowed to be valid.
Save the generator afterwards via the corresponding button, if you have made changes.

Delete an existing generator
If you want to delete an existing generator, you can do this in three ways. Either via the bulk actions (we describe this procedure below), in the generator itself, or via the Delete generator action. To do this, move the mouse over a generator entry in the table and then click Delete.

Bulk actions
In order to manage multiple generators, we have provided some bulk actions. You can find them at the beginning and at the end of the table. Mark all entries which you want to address via a bulk action.

The following bulk actions are available:
Delete
Select the bulk action Delete if you want to delete all selected entries.
Finally, confirm the execution of the bulk action by clicking the corresponding button.
Import generators (Pro)
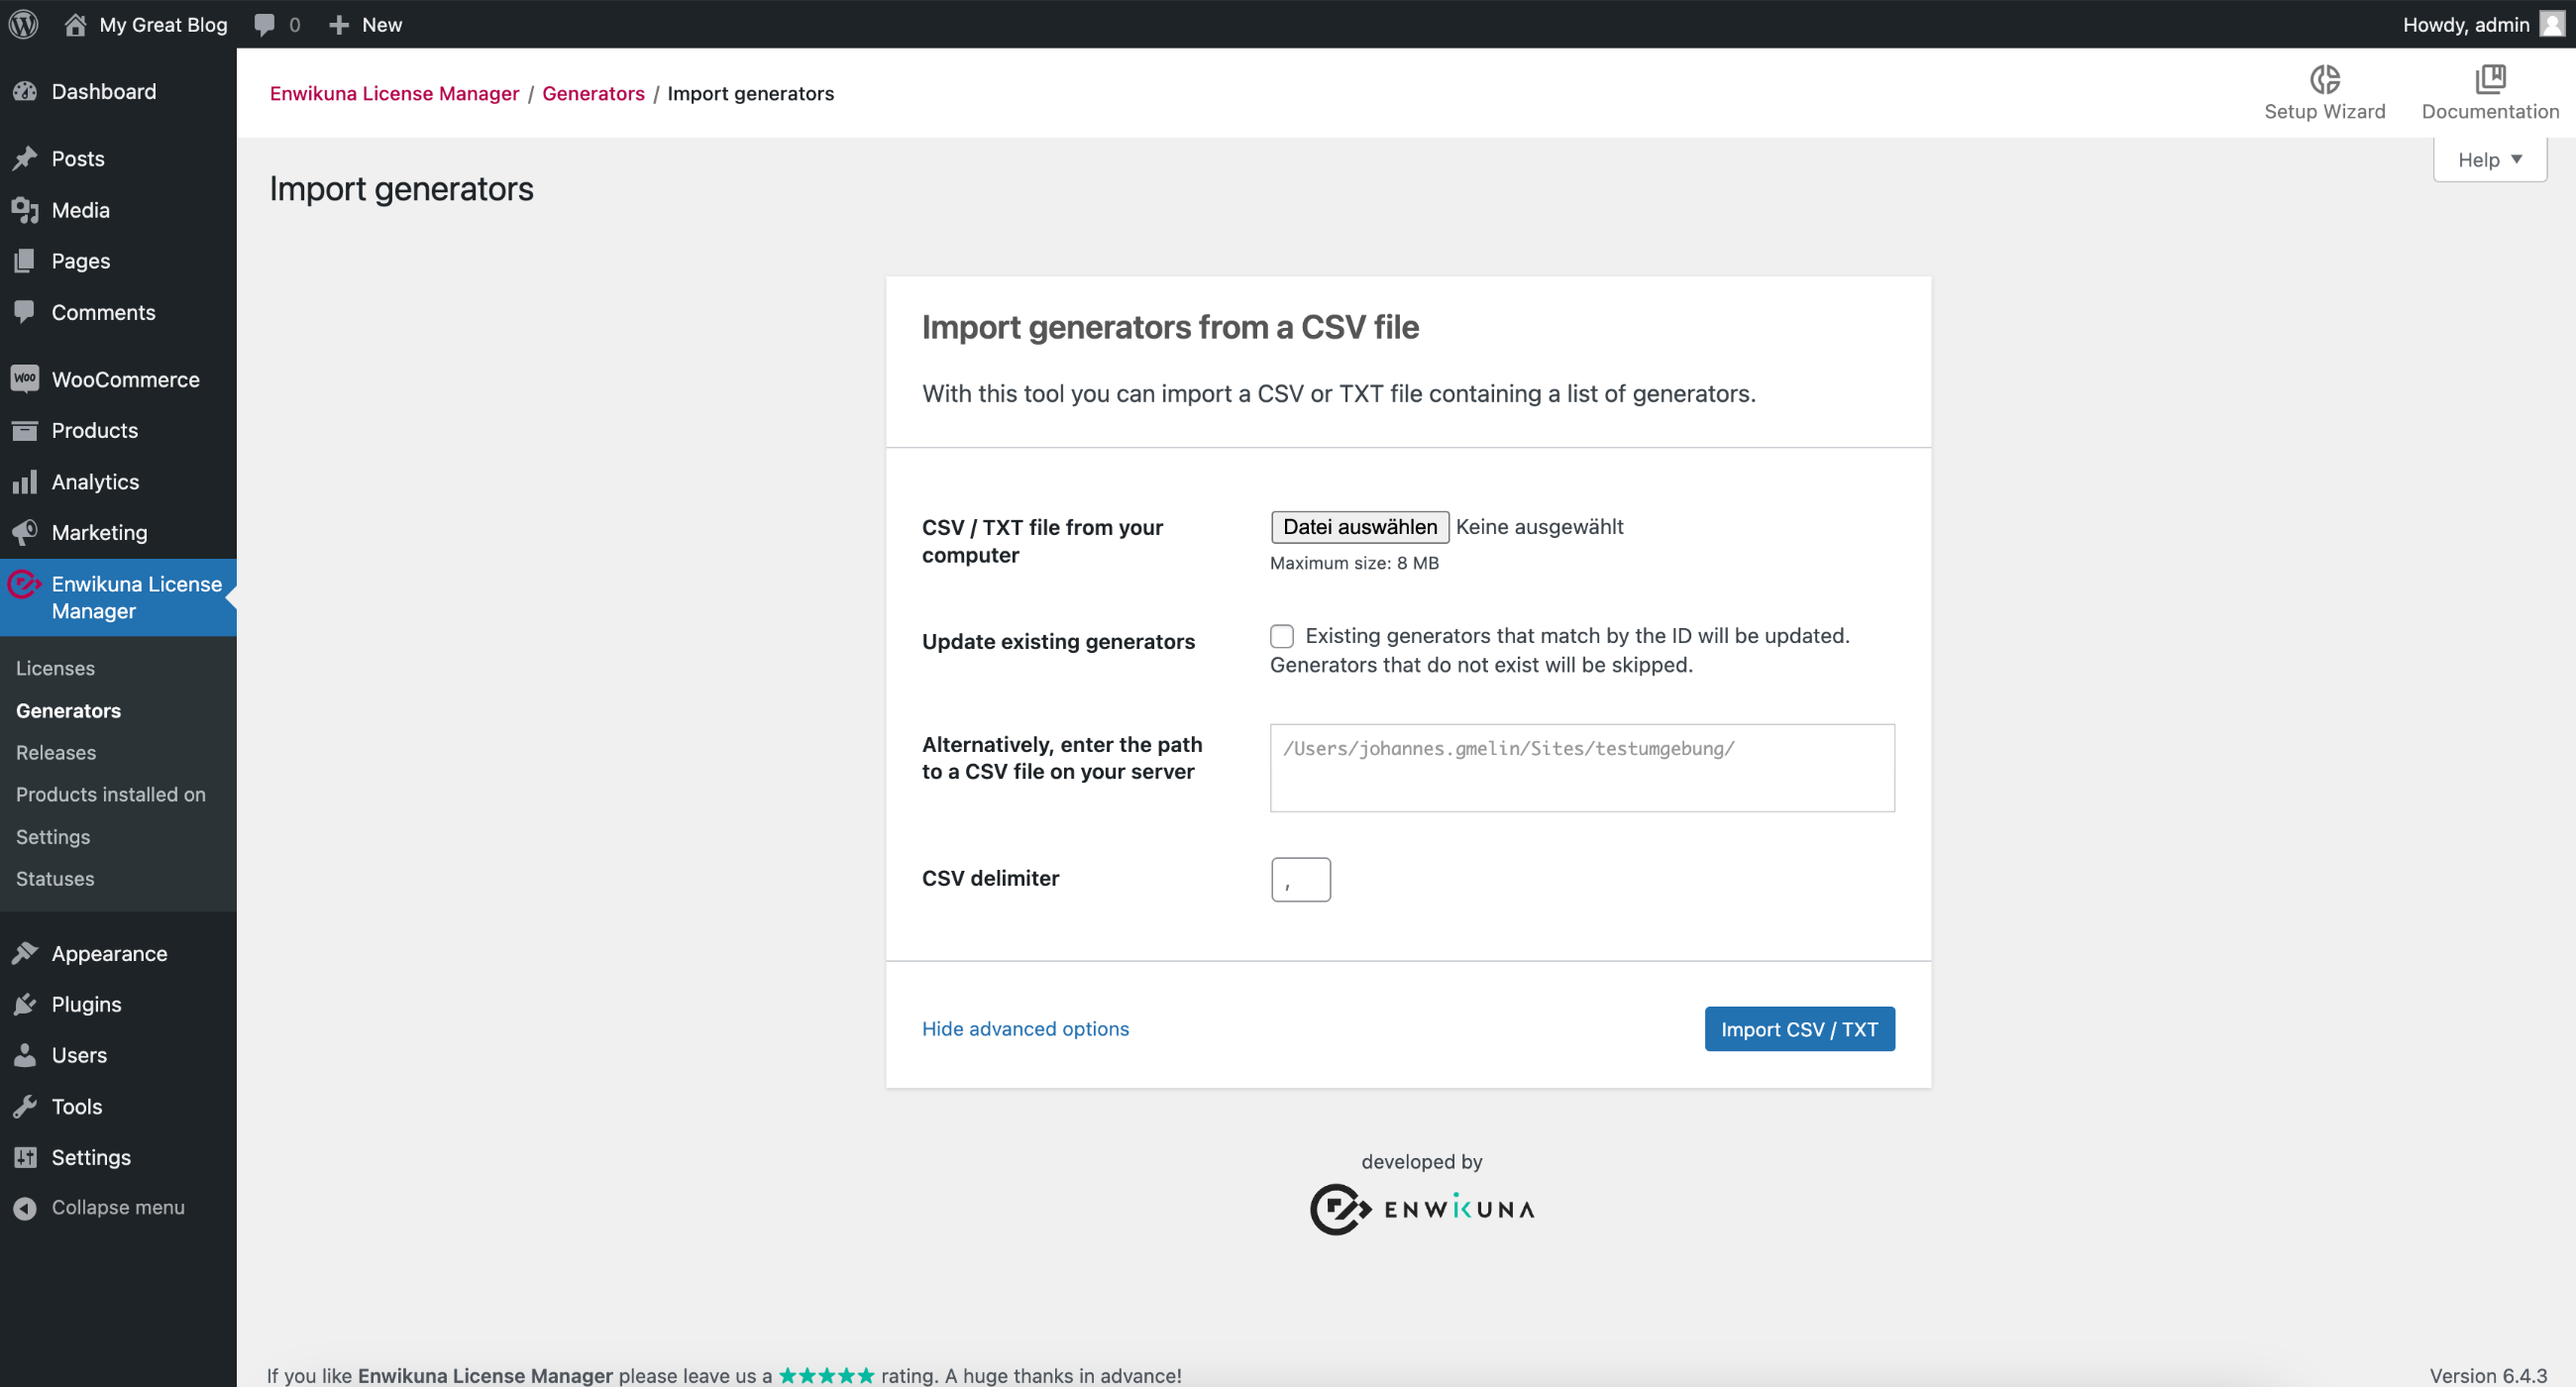
In case you have Enwikuna License Manager Pro installed, you can import generators. To do this, click the Import button under Enwikuna License Manager > Generators.

This opens the Importer, which is responsible for importing generators. Now select a CSV or TXT file containing generators. Next, decide whether you want to update existing generators or not.
You can also perform an advanced import by opening the advanced options. You can alternatively specify a path to a CSV or TXT file on your server instead of selecting the file locally. You can also change the delimiter if you want to use a different delimiter. By default, a , is used as a delimiter.
Finally, start the import process by clicking the corresponding button.
You will find a sample-data folder inside the Enwikuna License Manager Pro plugin folder. Inside this folder we have placed a sample file for you, which you can use as a template. Alternatively, you can of course create a generator by hand and then export that generator, which will give you your own template.
Export generators (Pro)
In case you have Enwikuna License Manager Pro installed, you can export generators. To do this, click the Export button under Enwikuna License Manager > Generators.

This opens the Exporter, which is responsible for exporting generators. Now select the data you want to export. By default, all generator data will be exported.
Now, start the export by clicking on the corresponding button.
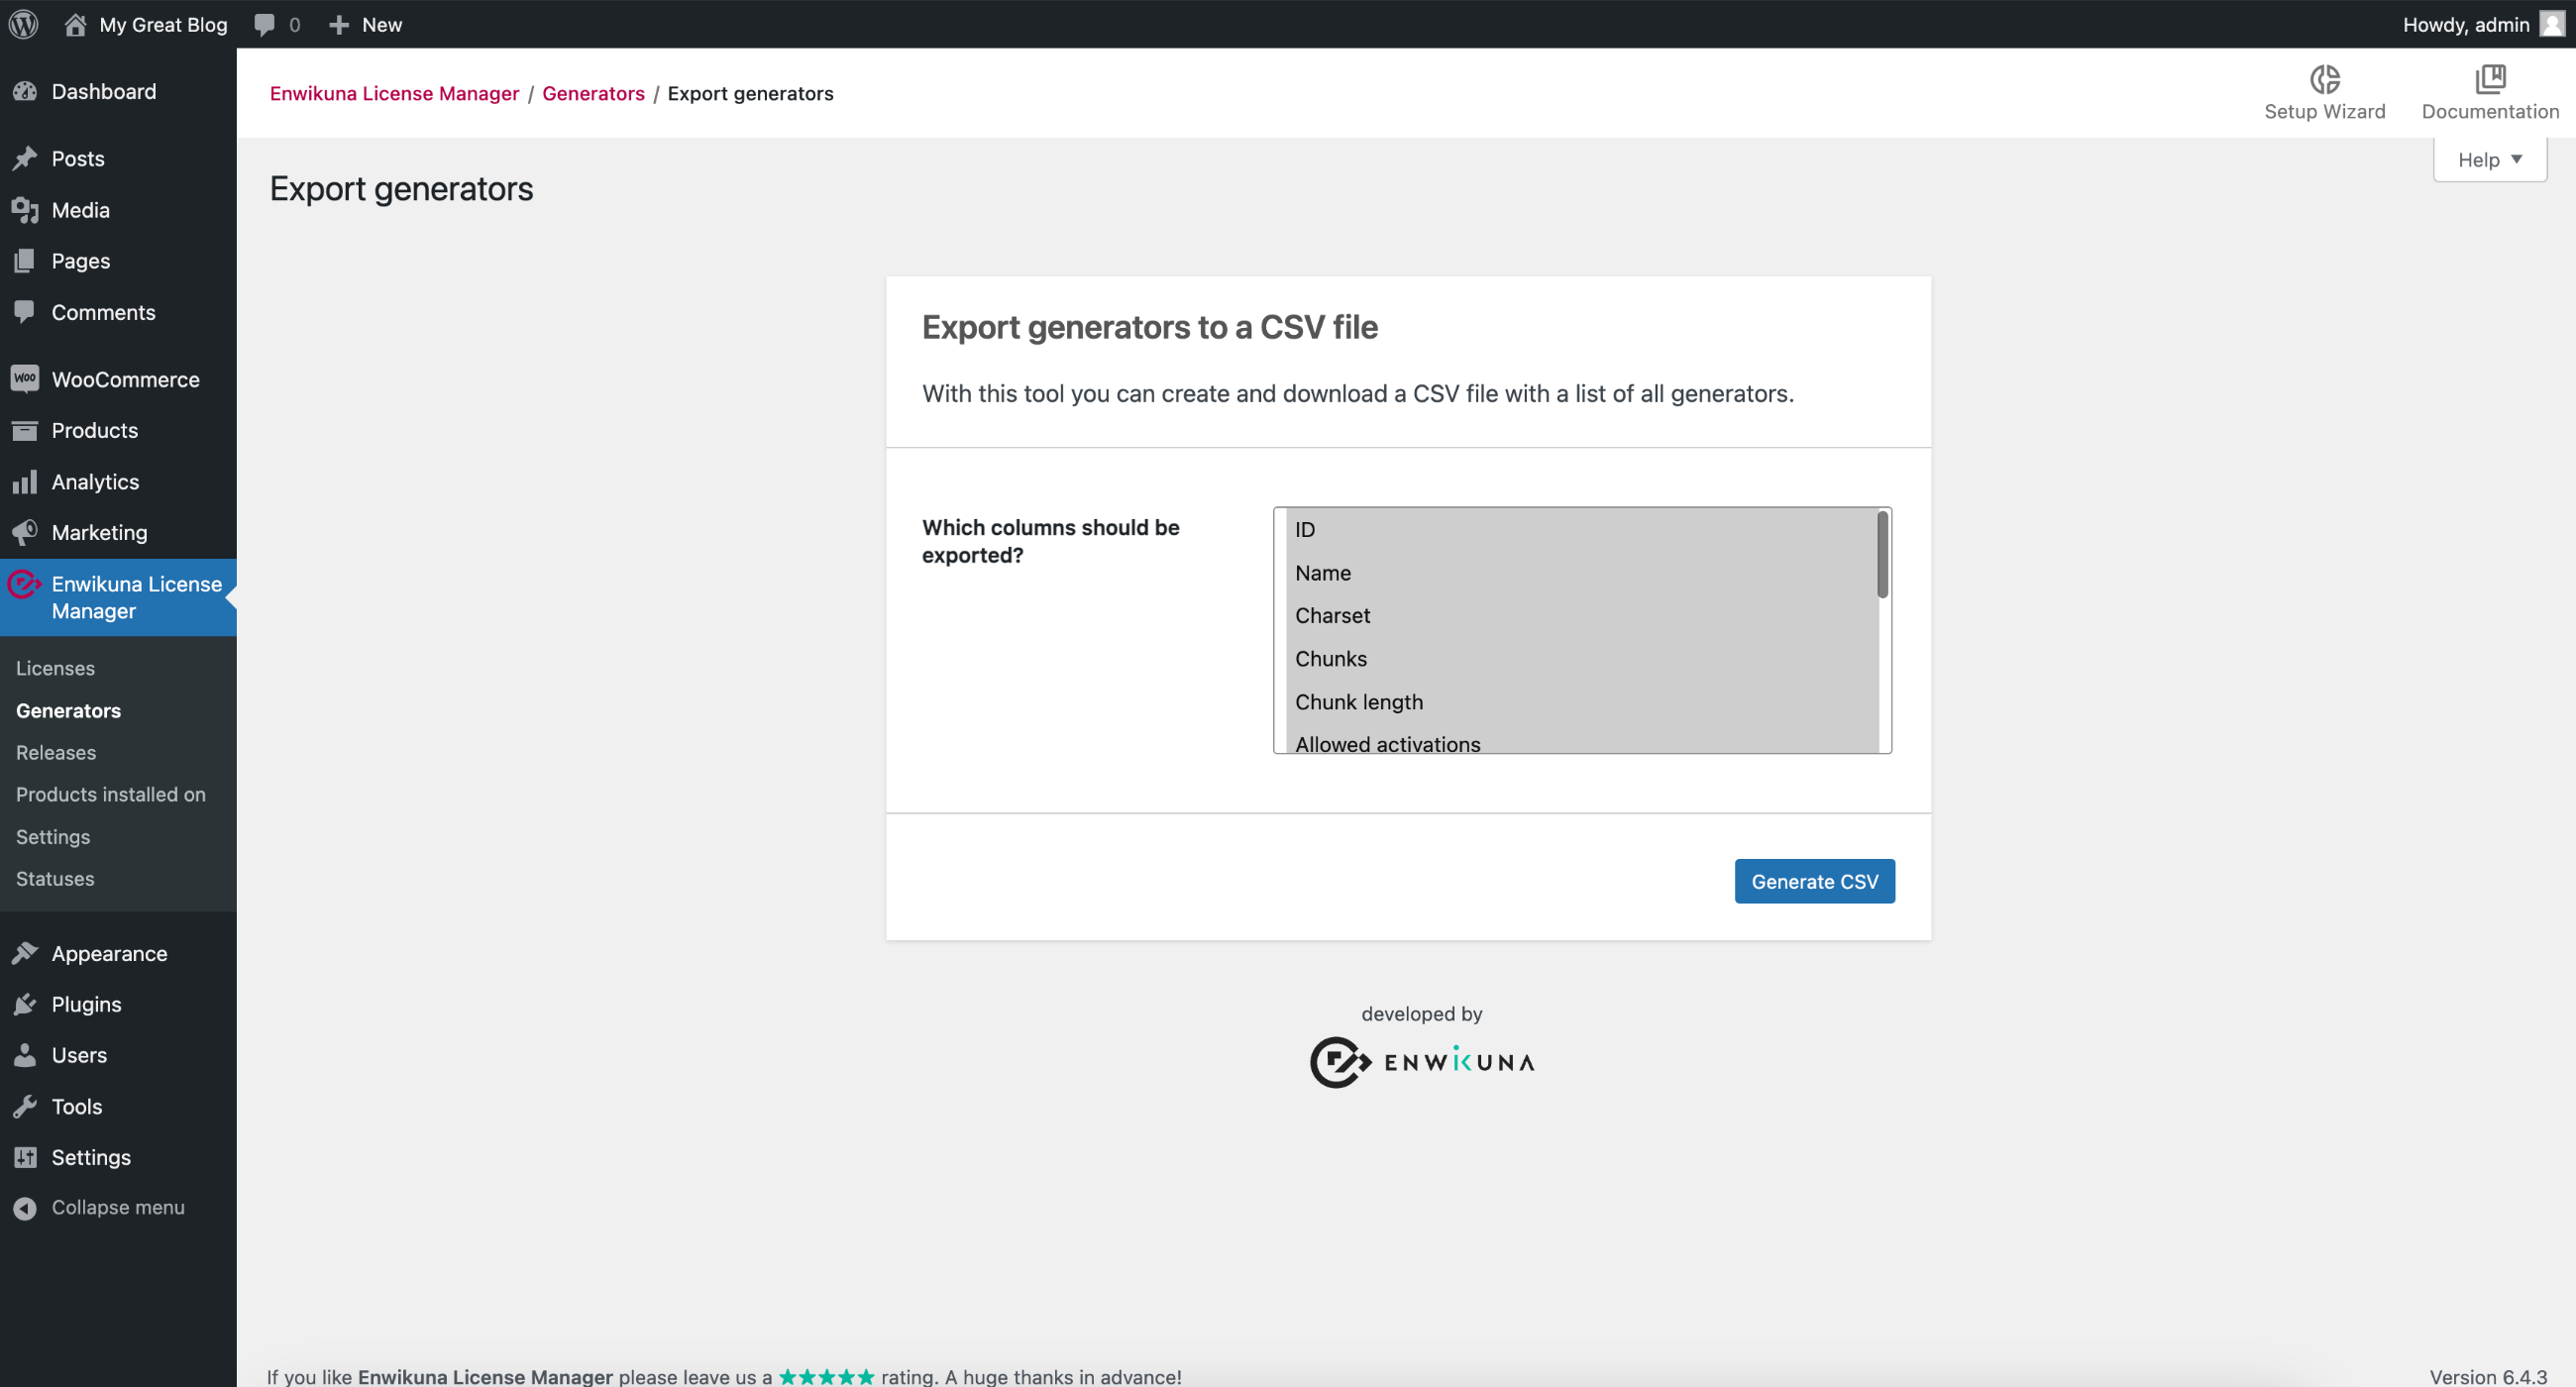
Your generators should now be exported.